Kevin Crozier flight tests a palm-sized photo drone.
As a keen amateur photographer, I have been using a DJI Mini SE drone to supplement my camera collection. It is a very easy bit of kit to operate and I am always struck by the quality of the pictures and videos that it produces, especially when flown in strong winds that I probably wouldn’t want to fly a model aircraft in. The fact that it can take highly stabilised images whilst being bounced around in such strong breezes is truly amazing considering it is at the lower end of the DJI range.
My version is the Fly More Combo, so called because it comes with three batteries to give you lots of flying and image taking time during a photography session. Just like flying an electric aeroplane, having just one battery would be quite limiting, although the flight duration of modern drones is actually quite decent.
Enjoy more RCM&E Magazine reading every month.
Click here to subscribe & save.
I justify having this drone by using it to film stills and fly-by videos of kit review models and you may have seen some of these if you have viewed the QR videos that we have added to some reviews. Or maybe not….
The problem is that I often forget to grab my drone bag when going out for a photo session, especially if I have a clubmate taking flying pictures of a new model, and so those kinds of airborne shots sometimes get overlooked. So, when I saw that DJI had introduced a new palm size drone called the Neo which I could possibly leave inside my R/C transmitter case, thus guaranteeing that it would be available if required, my interest was piqued.
I headed to the local branch of a camera store to take a look at their display model but unfortunately, they did not have a Neo in stock for me to take away. The basic model, priced just under £170, comes as the drone only, which can be controlled by a smartphone. I had also budgeted for a spare battery, which retails at £35. This is a hard cased Li-ion pack of 1435 mAh capacity and it is marketed as being ‘intelligent’ thanks to its smart charging and discharge management capabilities; if left idle for more than three days it will gradually discharge to 60% storage charge. The shop assistant recommended that I buy the Neo and battery from their website for next day delivery.
Back home and checking out the various options, I eventually decided to go all in and invest in the Neo ‘Fly More Combo’. This comes with three intelligent battery packs, a charging hub and an RC-N3 controller, plus accessories and costs £299. Since I had already committed to spending just over £200 on the drone and a spare pack, I reasoned that it would be worthwhile investing in a third pack, plus the more convenient charging hub and a dedicated transmitter. This was a very similar set up to the Mini SE ‘Fly More Combo’ that I already had, with the exception that the Neo doesn’t come with a soft carry case in which to keep everything together. More on that later…
First impressions
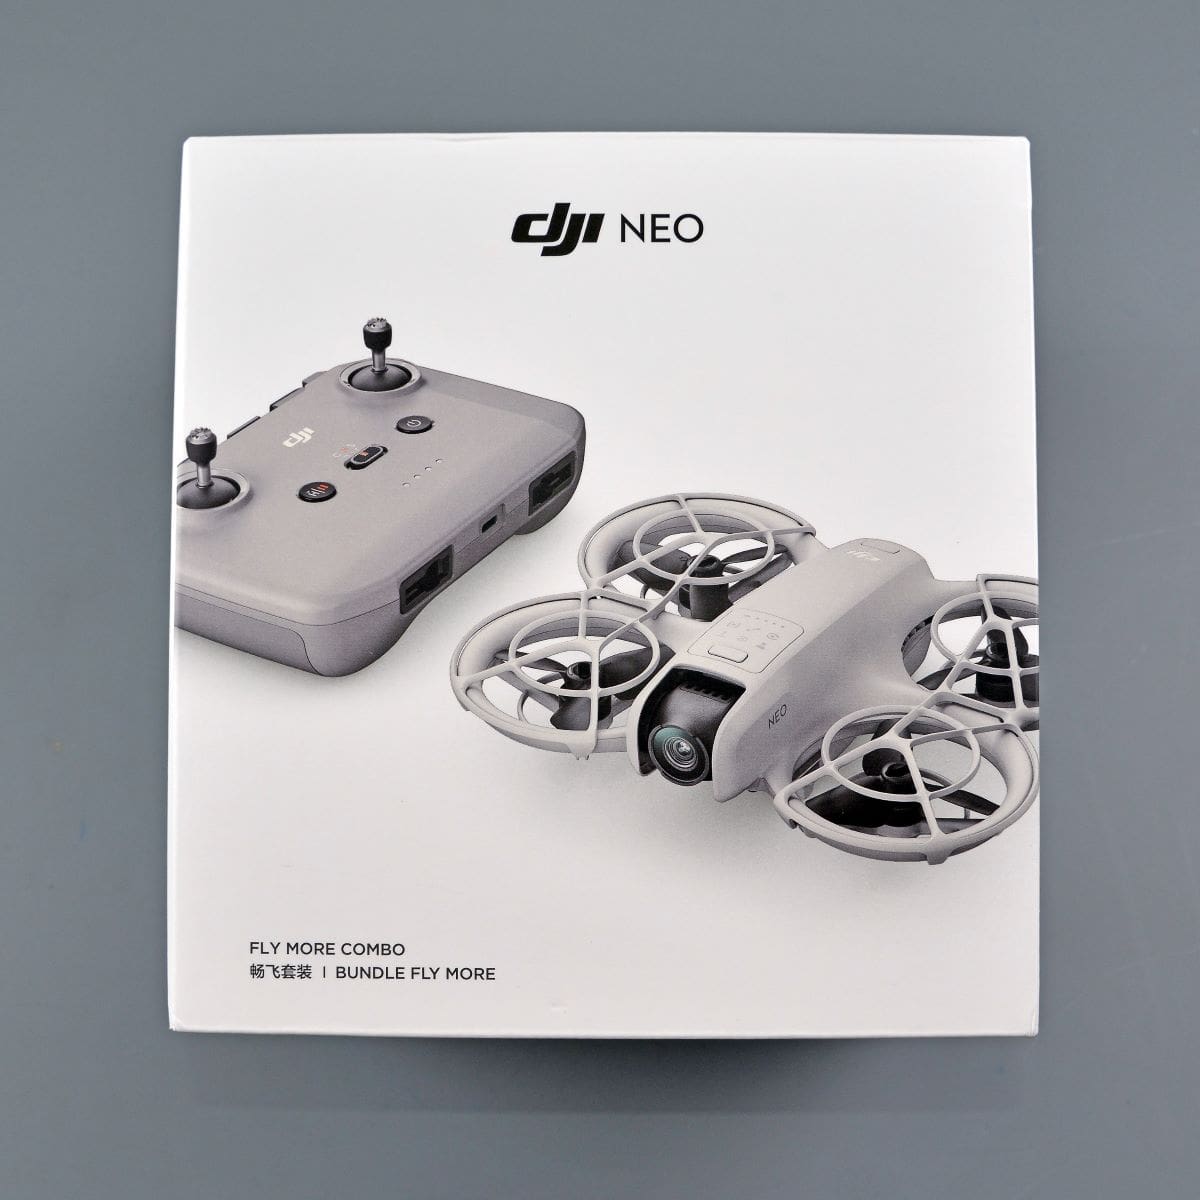
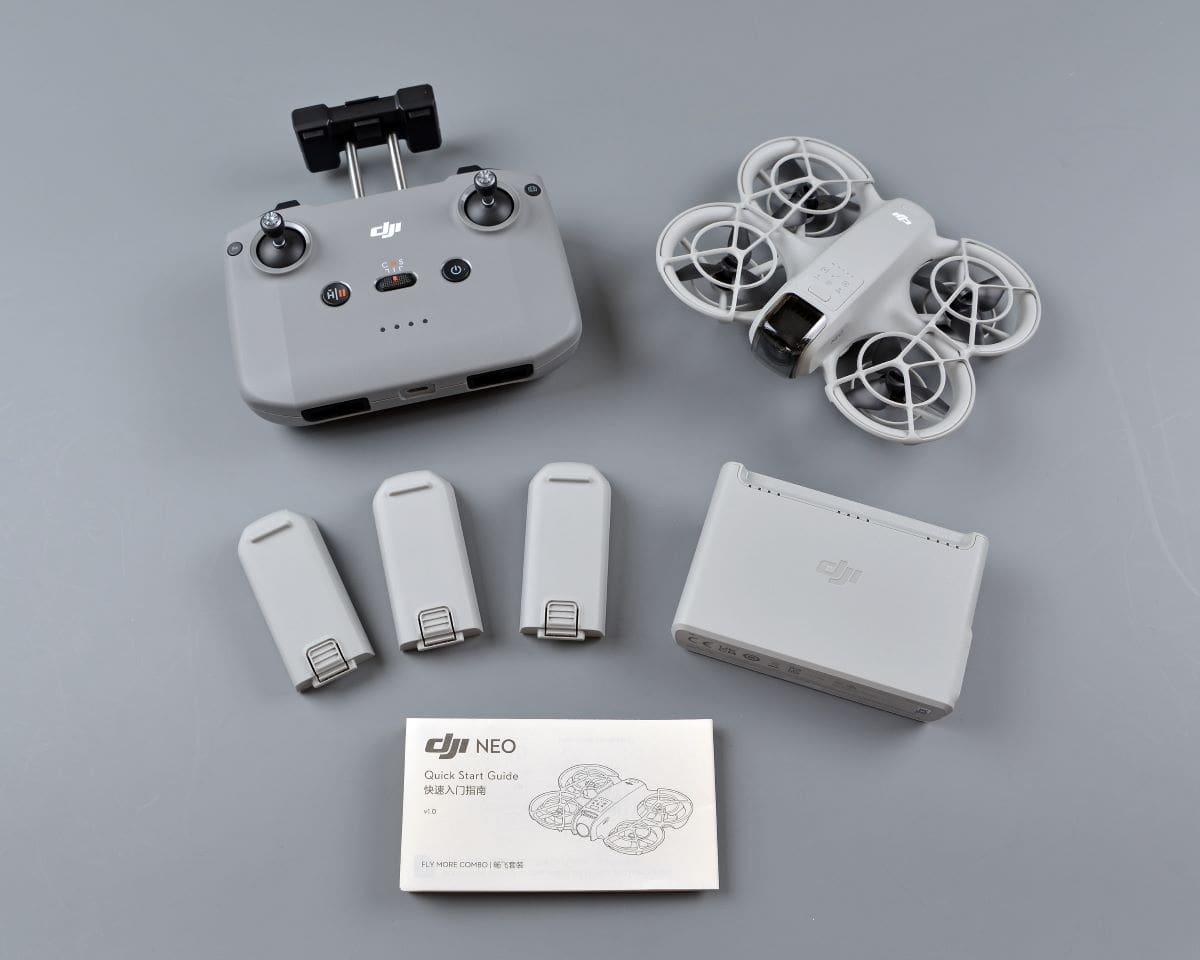
The Neo is supplied in a small cube box, with the drone at the front, the Tx at the rear and the charging hub lying on top in a separate box. As with most tech products these days a full manual is available online, so a fold-out quick start guide is all that is provided to get you going. If you are familiar with other DJI drones then you probably won’t even need to refer to that, but it will come in handy if you are starting from scratch. Also provided are two sets of spare 3-bladed props, a USB-C to USB-C charge lead and two smartphone connection leads, one with a Lightning plug to suit iPhones and the other fitted with a USB-C connector to suit other devices.
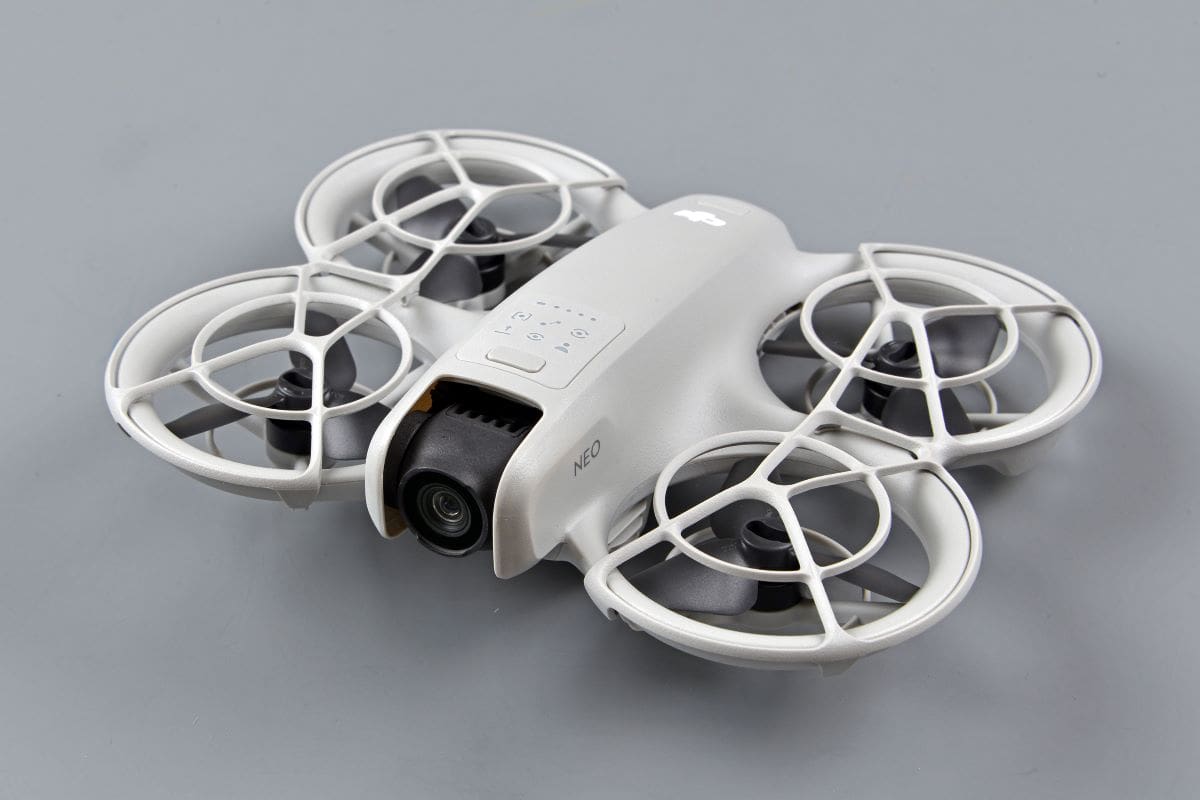
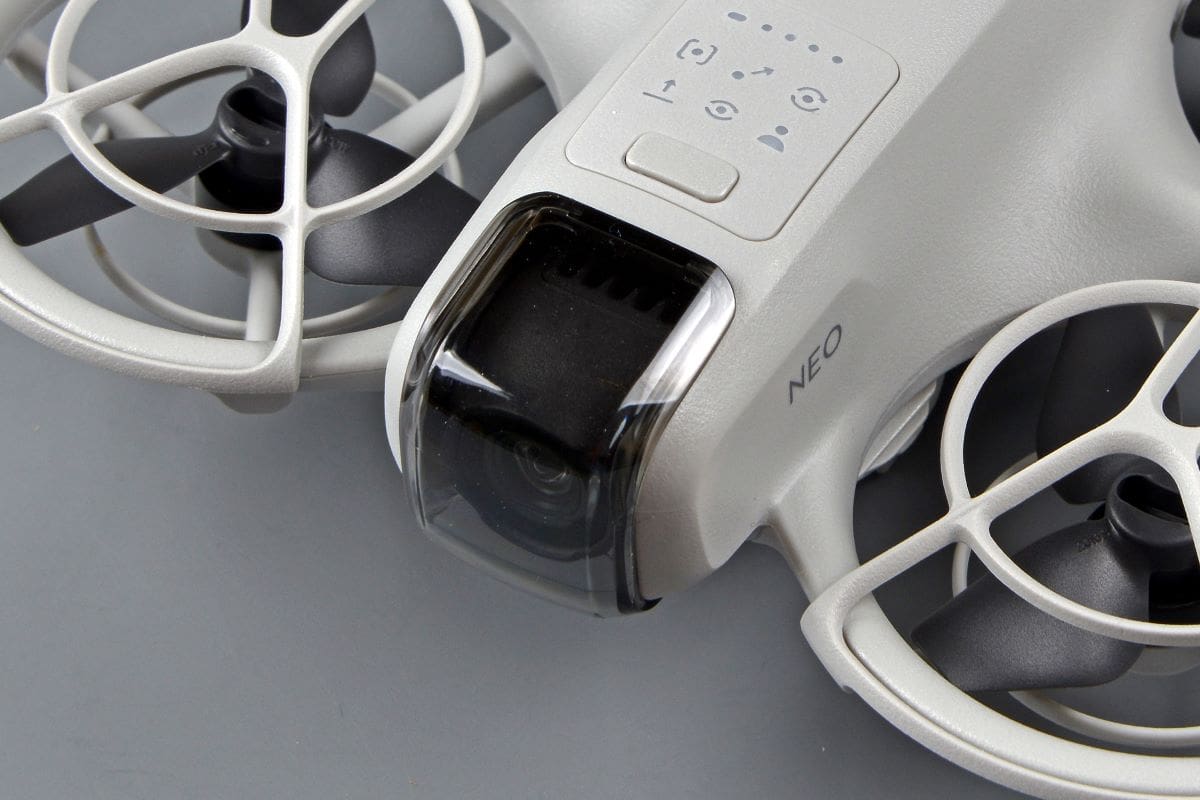
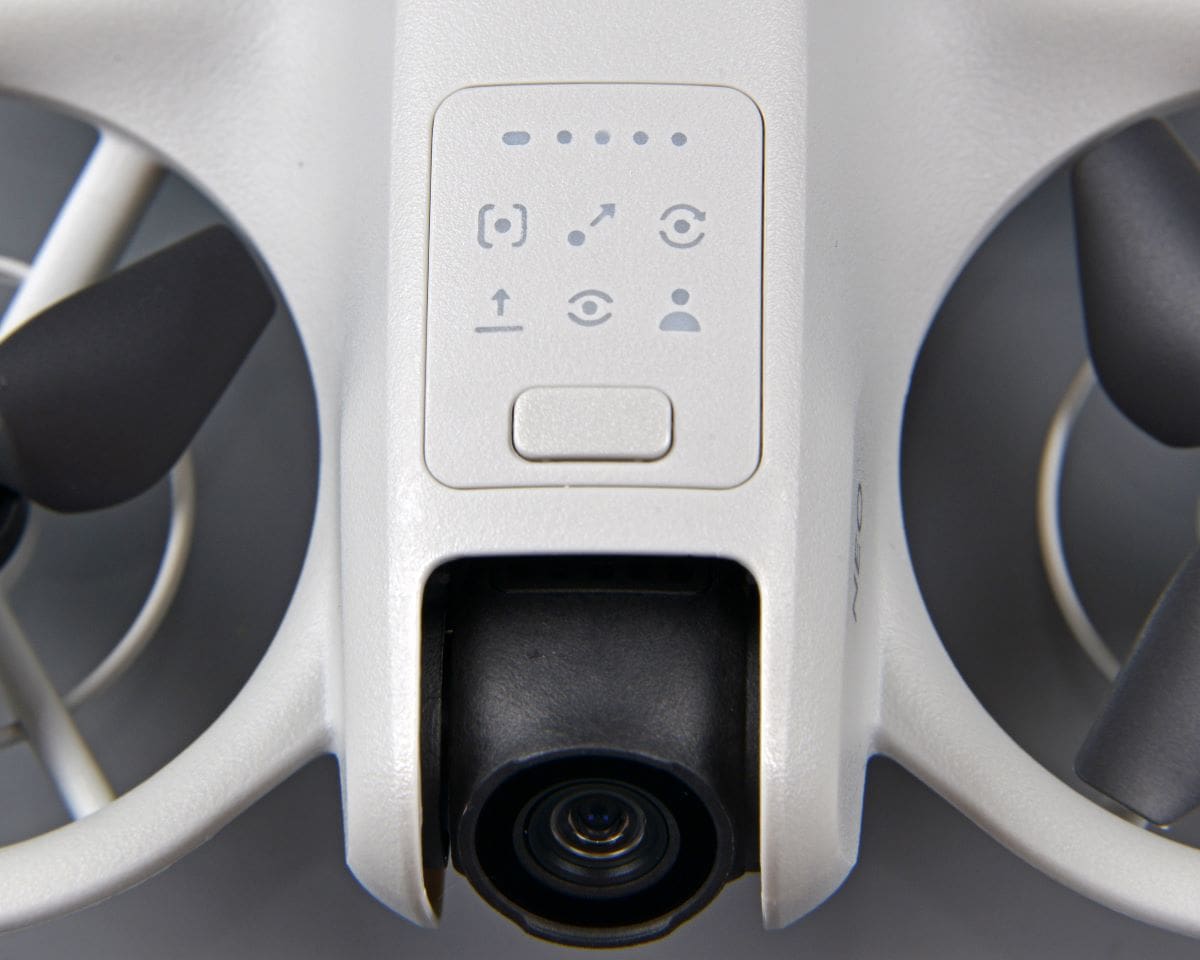
The Neo is small, measuring just 130 x 157 x 49 mm and is optimised for taking selfies whilst taking off and landing from the palm of your hand. To do this it has a flight mode called Palm Control, during which it will lock on to your face and then take off to follow one of a set of flight patterns selected via the Mode button and its associated indicator panel located on the upper body of the Neo. Alternatively, you can use a smartphone to control it via the DJI Fly app, using two virtual sticks to fly it in the usual fashion. There’s also a voice control function with which you can send Neo spoken flight directives via your smart device.

Take control
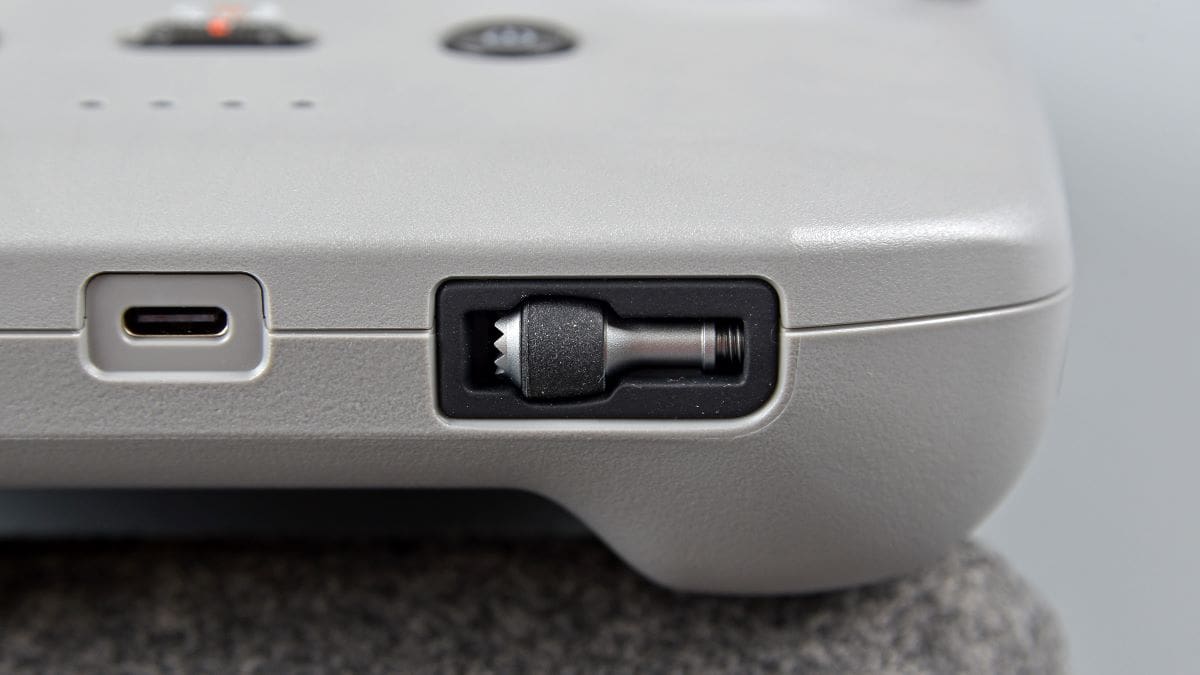
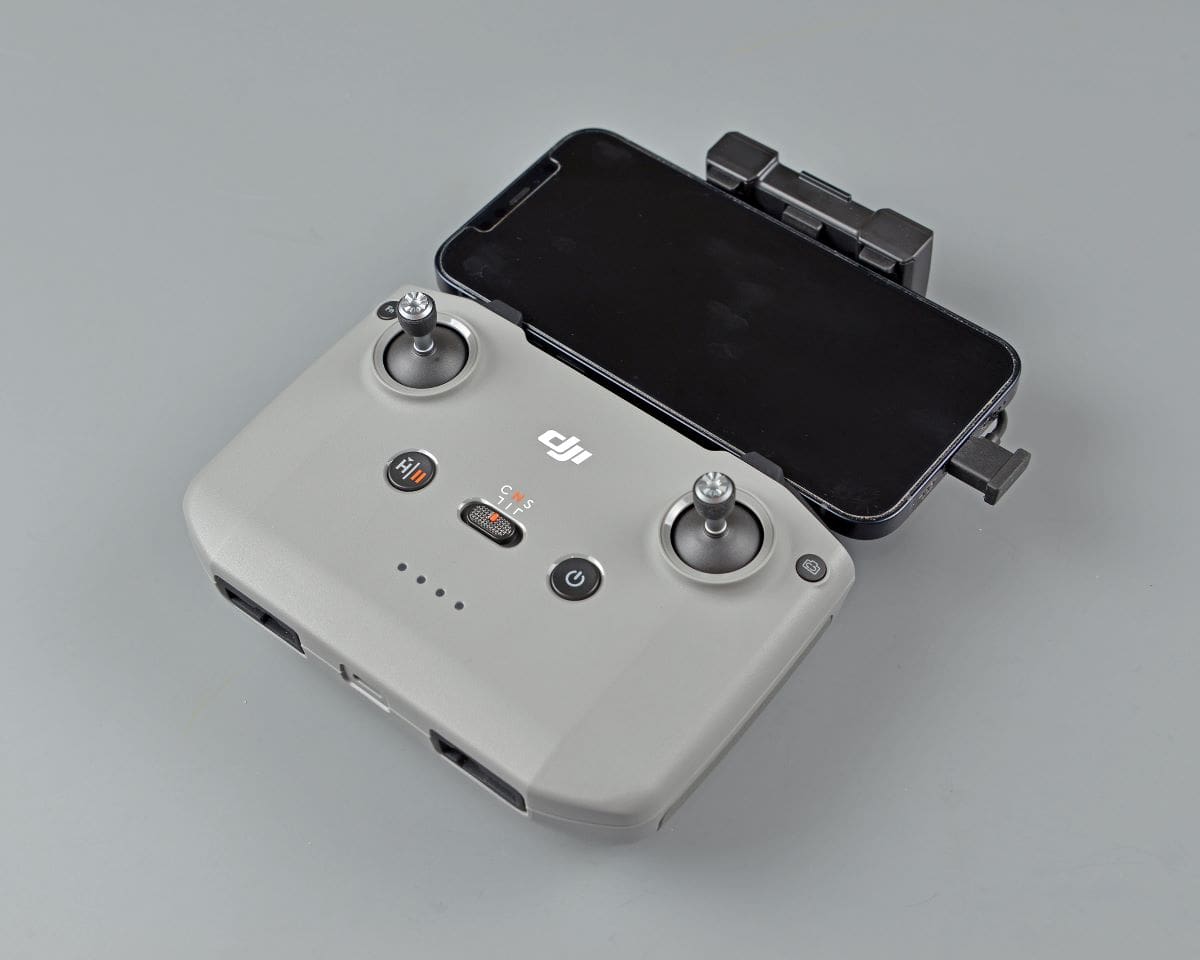
This is all fun stuff, but I was more interested in flying it conventionally using the RC-N3 controller. This is a smart twin stick transmitter which comes set up as Mode 2 by default, which suits me, but other stick modes are available via the ‘Control Stick Mode’ page in the DJI Fly app. When not in use the sticks unscrew and are stored in snug fitting recesses on the underside of the Tx.
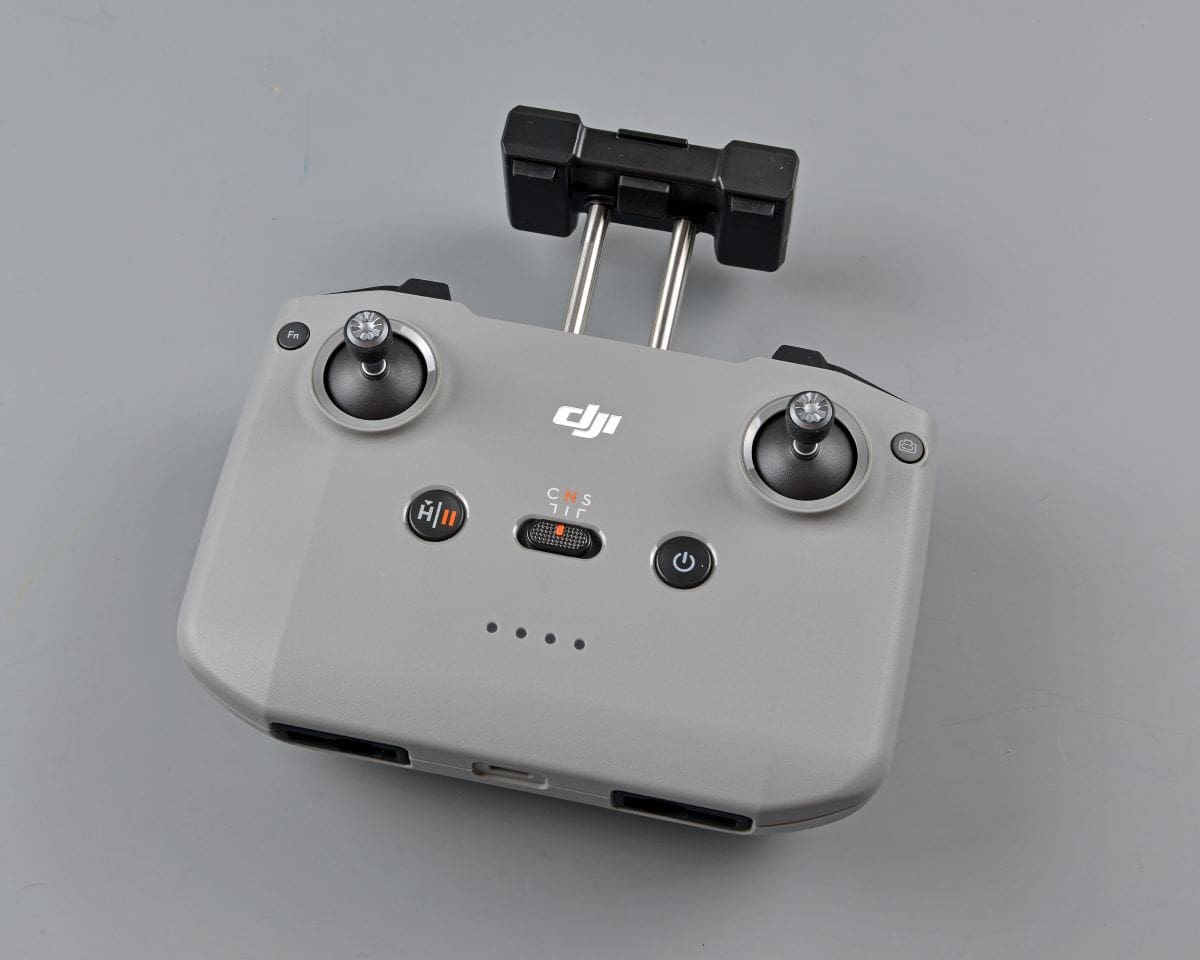
On top is a sliding smartphone holder which can be adjusted to suit the width of your phone. It’s best to take the phone out of its case otherwise the holder may not grip it correctly and you certainly wouldn’t want your phone to slide off and drop to the ground while the Neo is in flight! With the phone plugged in and showing the DJI Fly app it can be used to show an FPV type view from the stabilised camera mounted on front of the Neo, using the main flight controls to place the drone exactly where you want it before taking either a 12 MP still image or a 4K or 1080p video clip. The Neo doesn’t have a microSD card slot, so all files are saved to 22 GB internal storage. Post flight the files are easily downloaded to your phone. The Neo can also be used with FPV goggles, DJI’s Goggles 3 being the recommended set up.
In flight the camera can be tilted using a Gimbal Dial mounted on the top left shoulder of the Tx, with the Shutter/Record button being on the right-hand shoulder. In the centre of the controller, next to the power button, is a Mode switch to control the speed of the drone. Select either Normal, Sport (for slightly faster flight) or Cine (to slow things down when, say, recording a panned video clip). To the left of the Mode control is the Return To Home button; a short press of this button can also be used to brake the Neo and make it hover in the same place. There are two more buttons placed high on the outer side of each stick unit; the one on the left is a customisable Fn button which recentres the gimbal by default whilst the one on the right is used to switch between Photo and Video modes.
In use the controller is very easy to use, with smooth sticks and logically placed buttons, so it will feel very natural to R/C pilots from tyro level upwards.
Charging hub
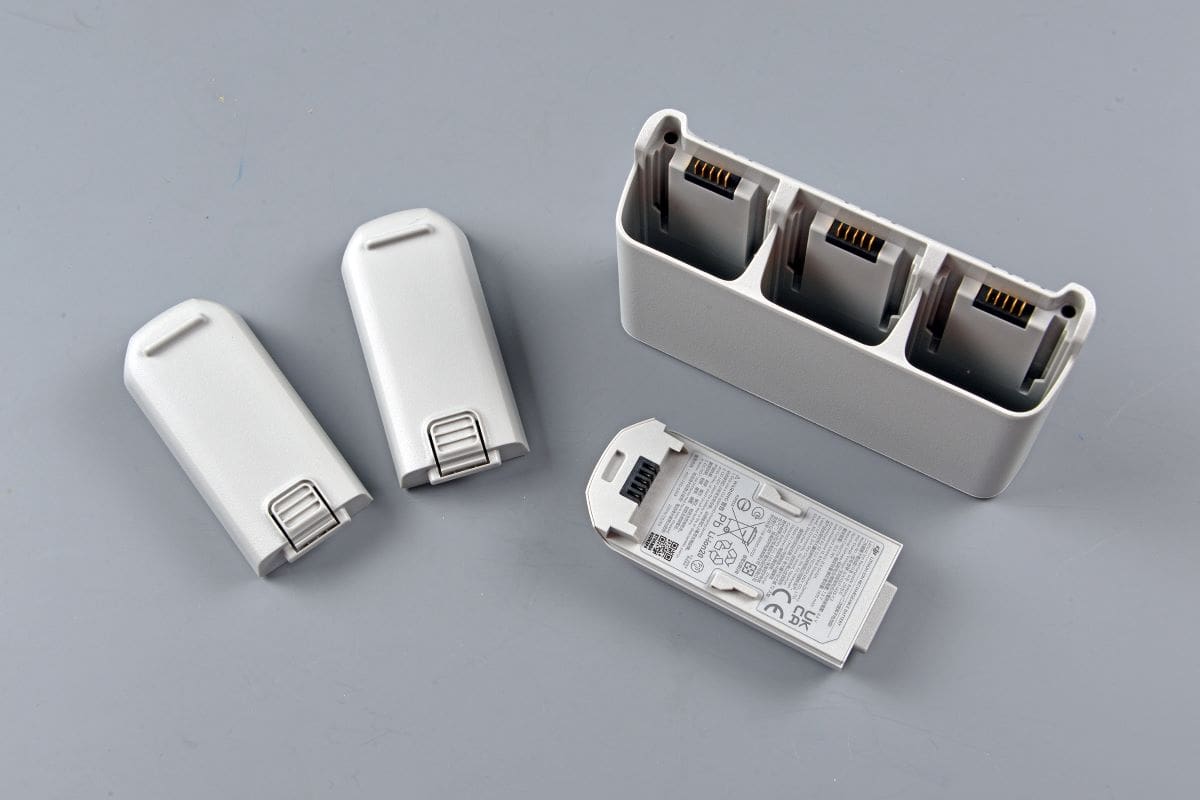
In its drone only configuration the Neo comes with one intelligent battery pack, charged via the USB-C port at the rear of the drone’s body. This is claimed to give up to 18 minutes of flight time in a windless environment, but such conditions are very few and far between these days if flown outside in the UK, even in summer. So, the little Neo is sure to have to work a lot harder in more realistic flight conditions. This is where the Fly More Combo comes into its own, with its three battery packs banishing ‘range anxiety’ during most normal flying sessions.
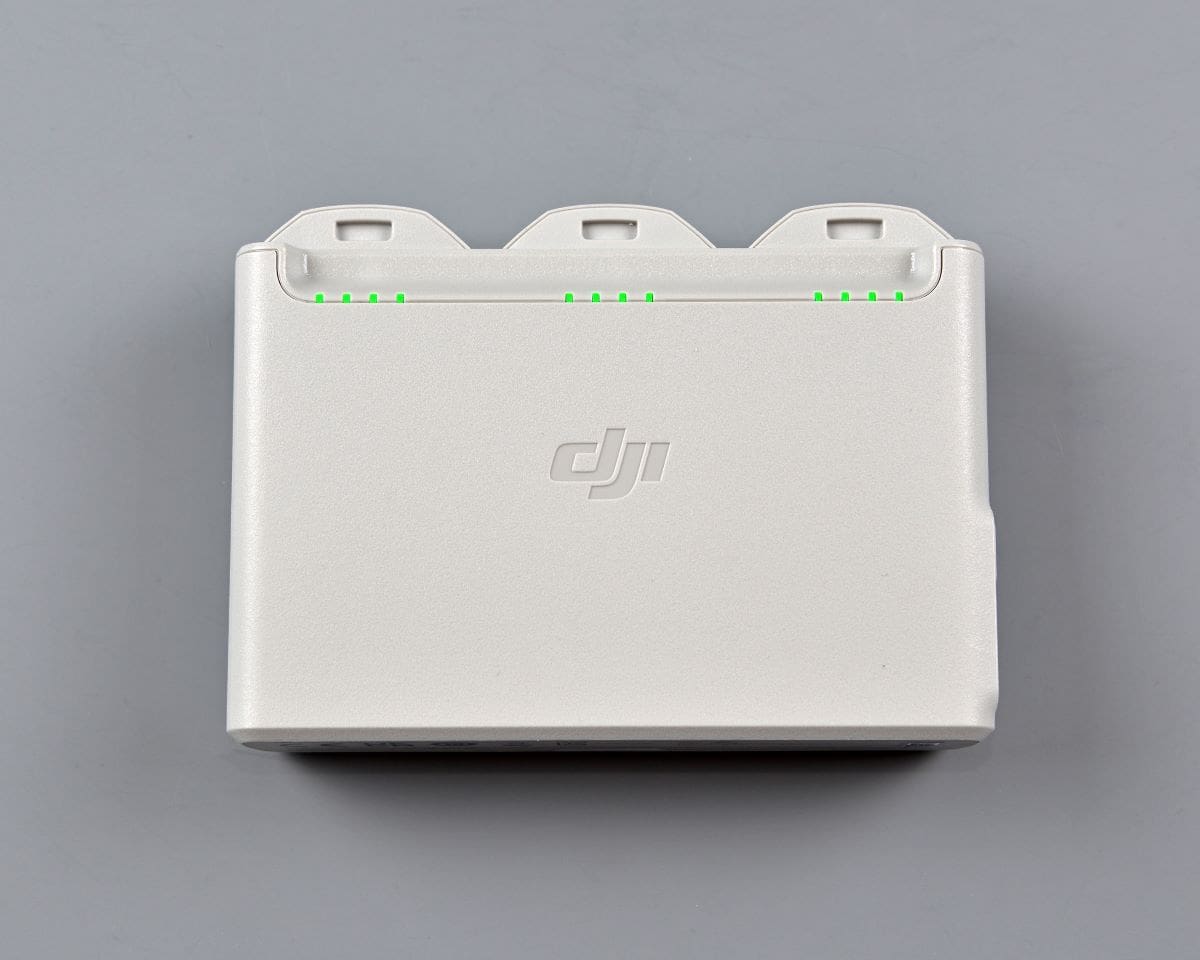
The Fly More Combo is supplied with a three-port charging hub which is connected to the USB-C lead supplied. The hub charges each pack until the four indicators next to each one are lit up green. The hub also provides a convenient place to store all the batteries when not in use, during which they will automatically start their discharge management cycles if not used for more than three days.
In flight
Neo comes with a pair of pre-fitted propeller guards. These are recommended if flying in Palm Control mode and would be a sensible fit if flying near children or pets. I did take mine off, just to see how easy it was to do, but I found that they were a bit of a fiddle to put pack on so mine have stayed put ever since. Apparently, they do have a slightly detrimental effect on flight time but nothing substantial.
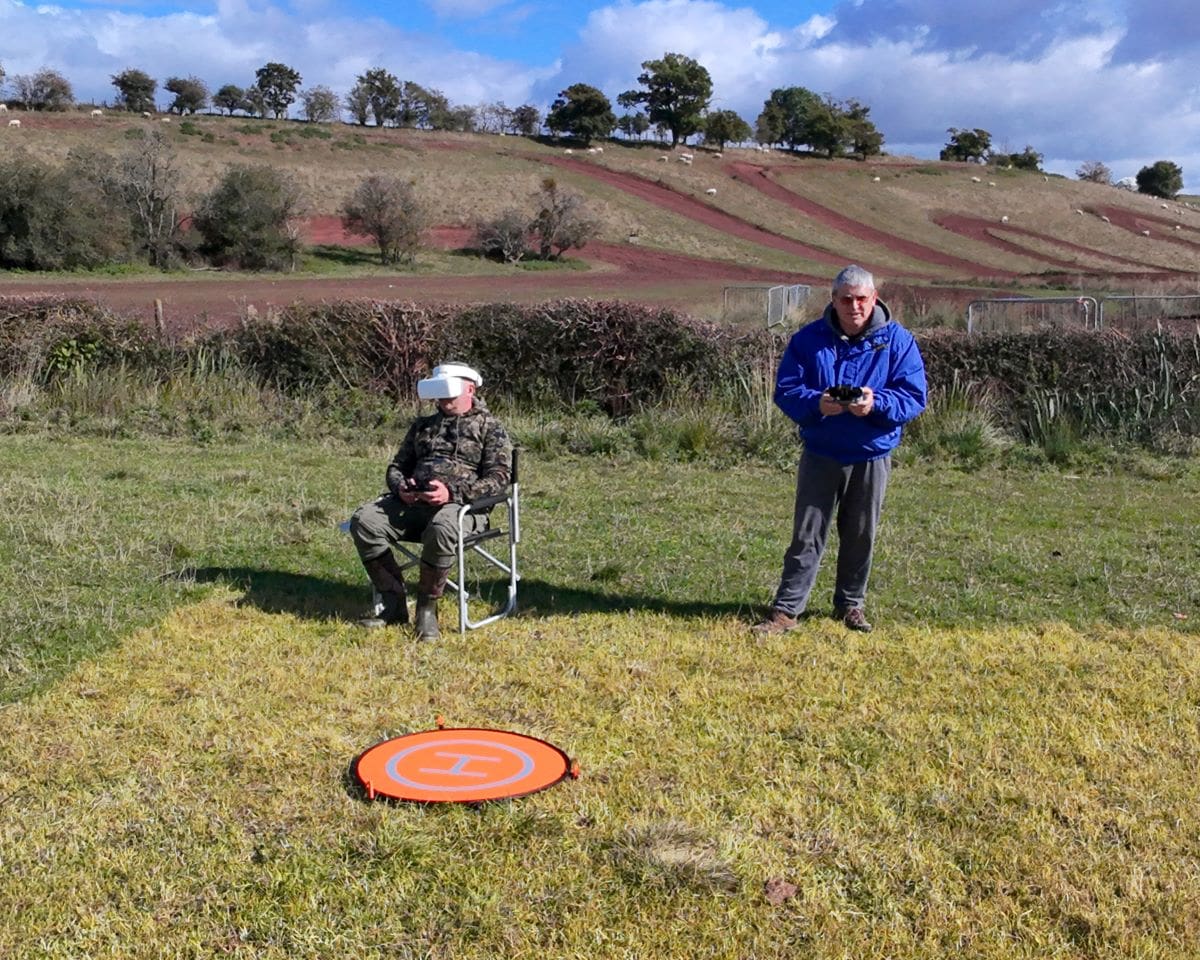
Since most of my drone flying is done from rough grass, so that I don’t get in the way of any fixed wing flying, I have invested in a small fold-up take-off Heli-pad, otherwise the props on my drones would get caught in the grass when taking off and landing. This would be even more of an issue with the Neo, it being so close to the ground. Using the bright orange H-pad also makes it easy to aim for and to land on. I don’t use the RTH function to land because while it will land fairly close, it’s not likely to hit the small pad as horizontal accuracy is +/-1.5 metres when using GNSS satellite positioning.
With the pad providing a smooth surface to take off from the motors can be started by pushing the sticks into opposing bottom corners. Raising the throttle stick will cause the drone to lift off. At the end of a flight, lowering the throttle stick fully after landing will automatically shut down the motors. However, whilst I always perform a manual landing, I usually take off using the Auto Take-off button that is prominently displayed on the DJI Fly app screen. This needs pressing for a couple of seconds until an indicator around the circumference of the virtual button makes a full sweep. The Neo will then start up and take off automatically, rising to an altitude of 1.2 metres (3.9 feet) above the ground.
Neo is very easy to fly and it would make a great drone trainer, or even give you confidence before taking your first steps with an R/C helicopter. Use it in Normal model to fly large or small figure of eights, using the yaw (rudder) stick to keep it flying nose ahead. Speed things up by selecting Sport mode, although don’t get too excited as this only adds a moderate increase in airspeed, or slow things down by checking out Cine mode.
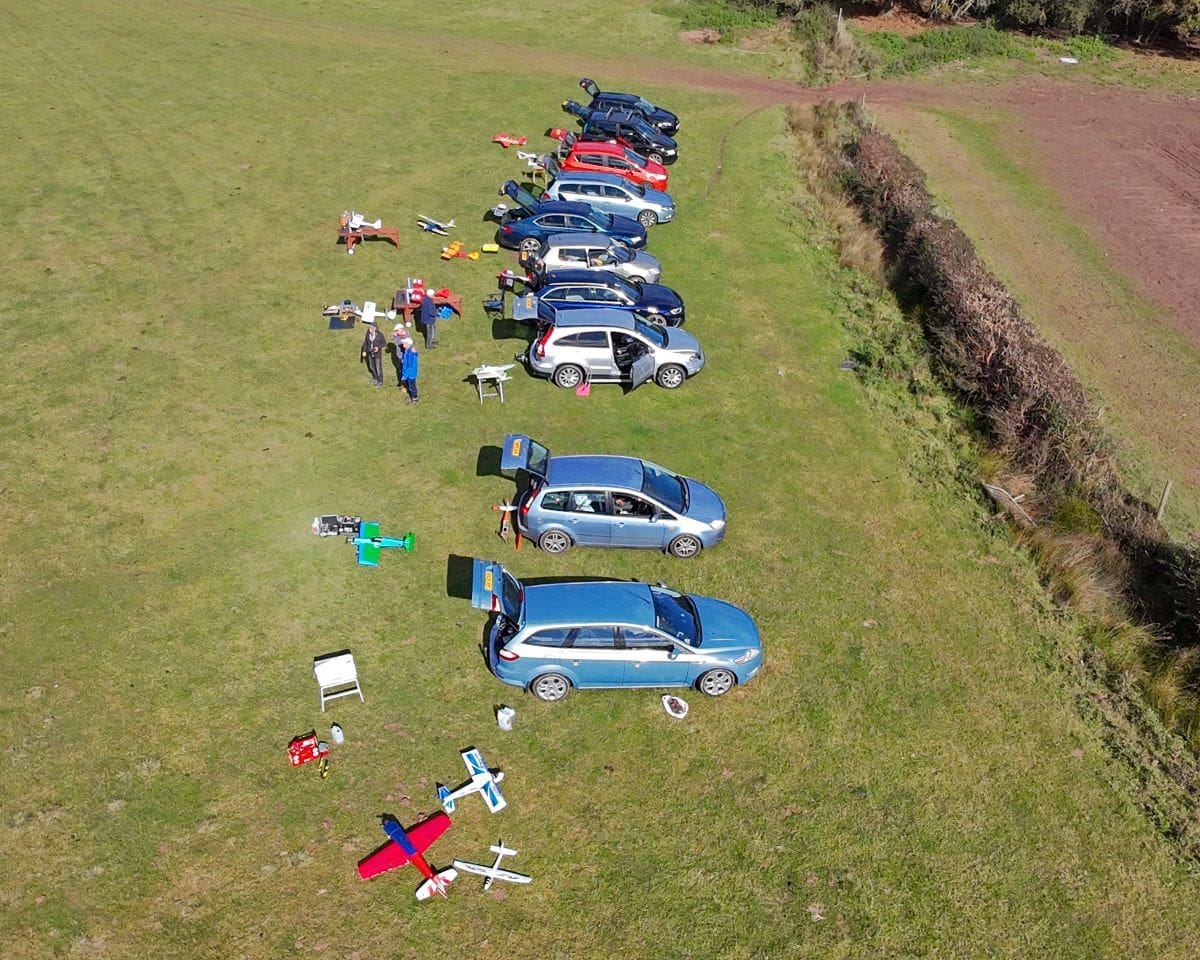
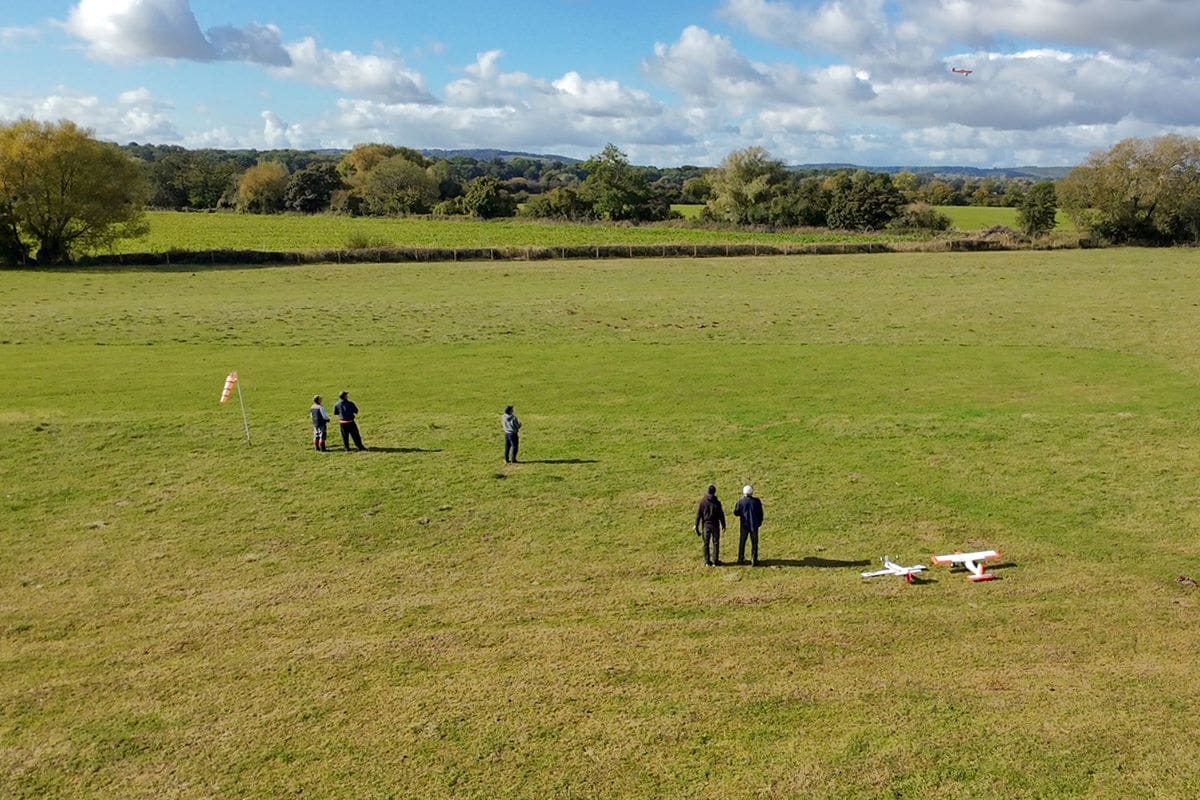
To be fair, when flown at most R/C flying sites, this little drone is most likely to be used to take high level group photos of your clubmates, or maybe a snap or video clip of models taking off and landing on your club strip. Such images can then be posted to your club website, printed in a club newsletter or even sent to this magazine with a couple of hundred words to let our readers know what is happening at your favourite model club – hint, hint!
It can do all this with ease and whilst tackling some strong breezes too. During a recent session with the Neo, I had packed in flying my fixed wing models for the day, the gusty, strengthening breeze making flying uncomfortable. I raised the little Neo aloft, just to see if it could even hold station in such a breeze and was amazed to see it hovering rock steady over the patch above tree height, relaying a perfectly steady picture back to my phone. The algorithms controlling the four props and the camera gimbal are obviously very well honed after many generations of previous DJI drones. The instructions do caution against flying the Neo in very strong winds though so there is a common-sense limit to what you can expect such a small drone to put up with.
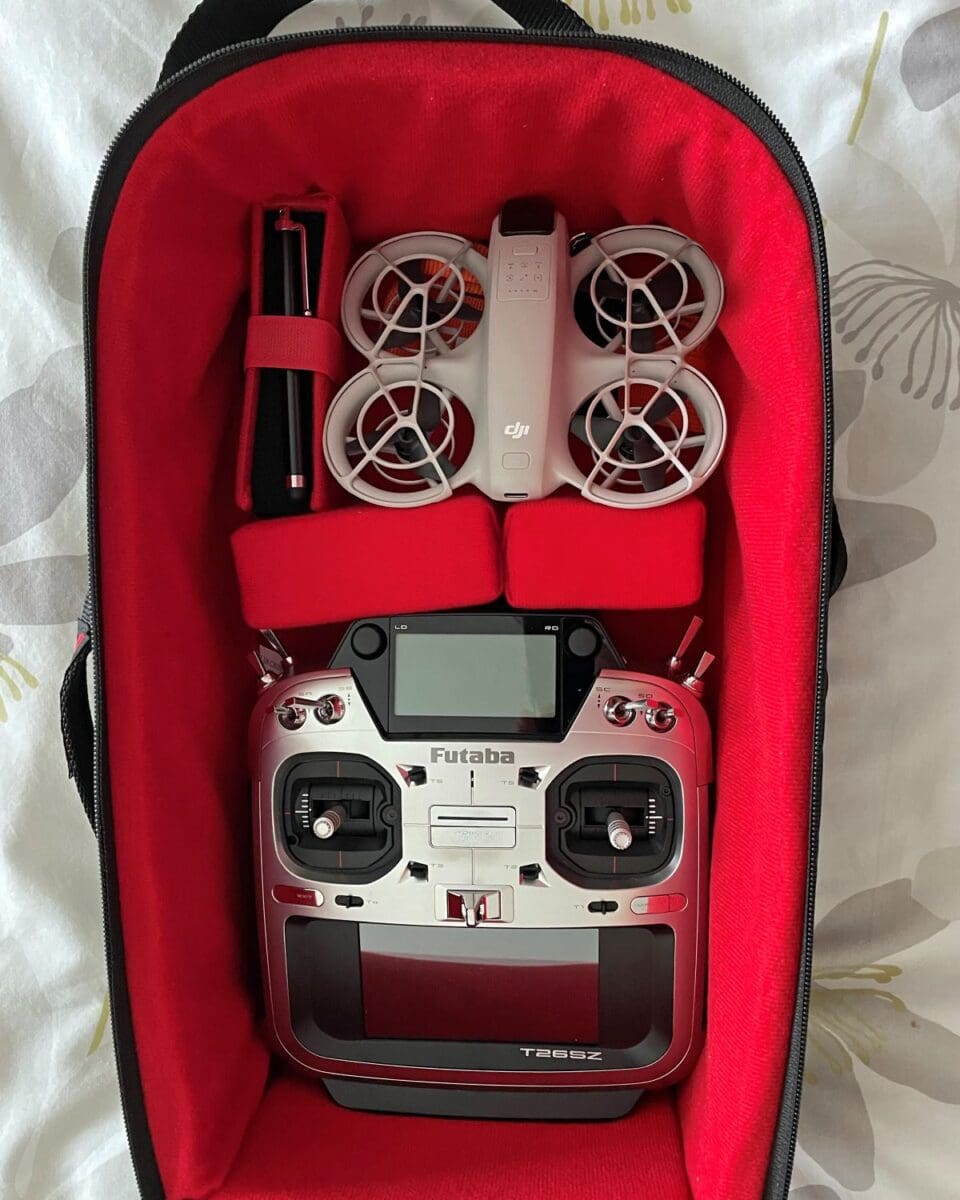
Overall, the DJI Neo has proved to be a lovely little machine to take aerial pictures with and, best of all, it fits in my new Futaba soft carry case, which I purchased for a recently acquired new radio, where it sits in comfort, ready for its next call to action.
On the case
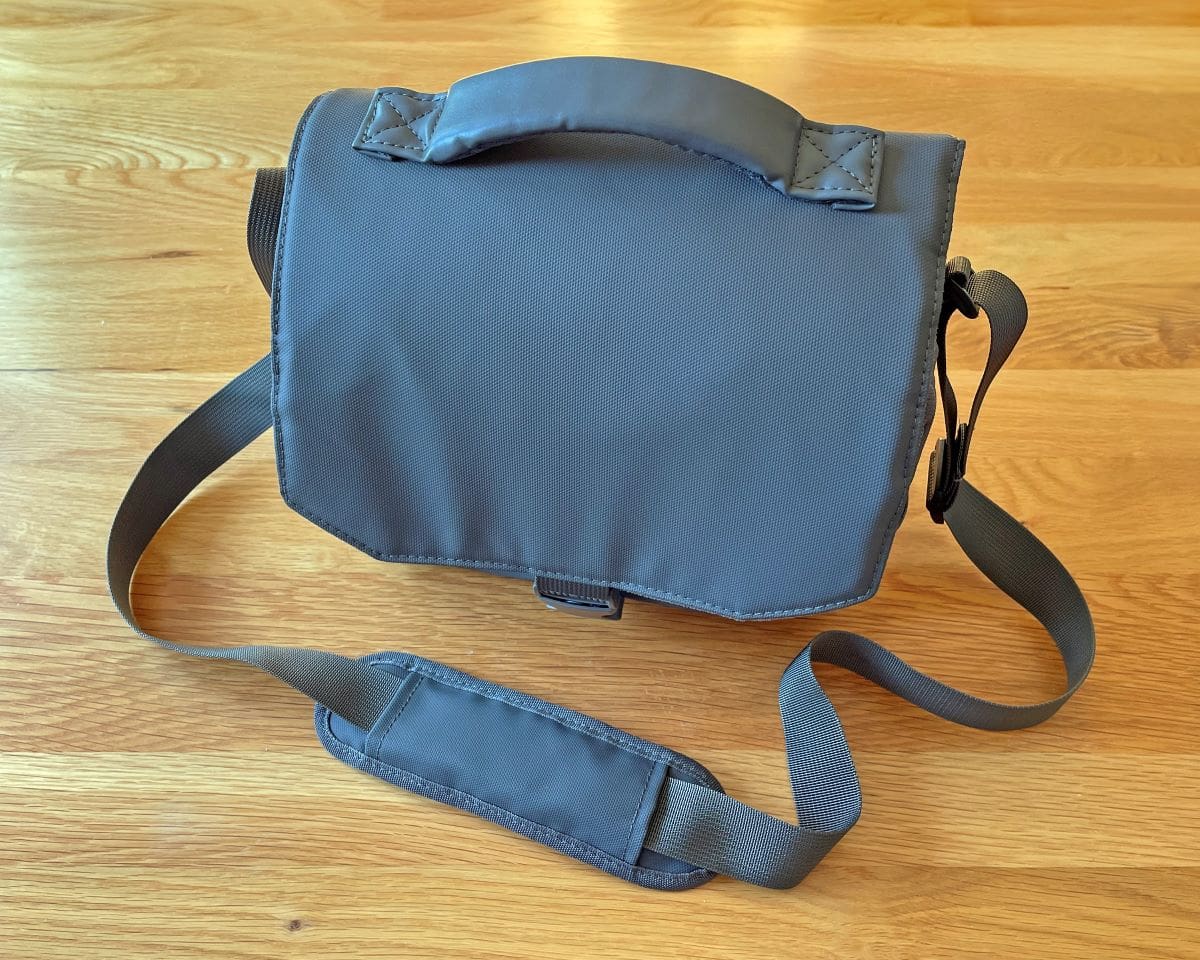
Although the Neo is a snug fit in my new Tx case, as a nearby picture shows, meaning that it is close to hand when I am photographing a new review model, I still wanted to buy a small, cushioned bag to keep it in for use on holidays and days out, together with the RC-N3 controller, the charging hub, spare batteries and all its accessories.
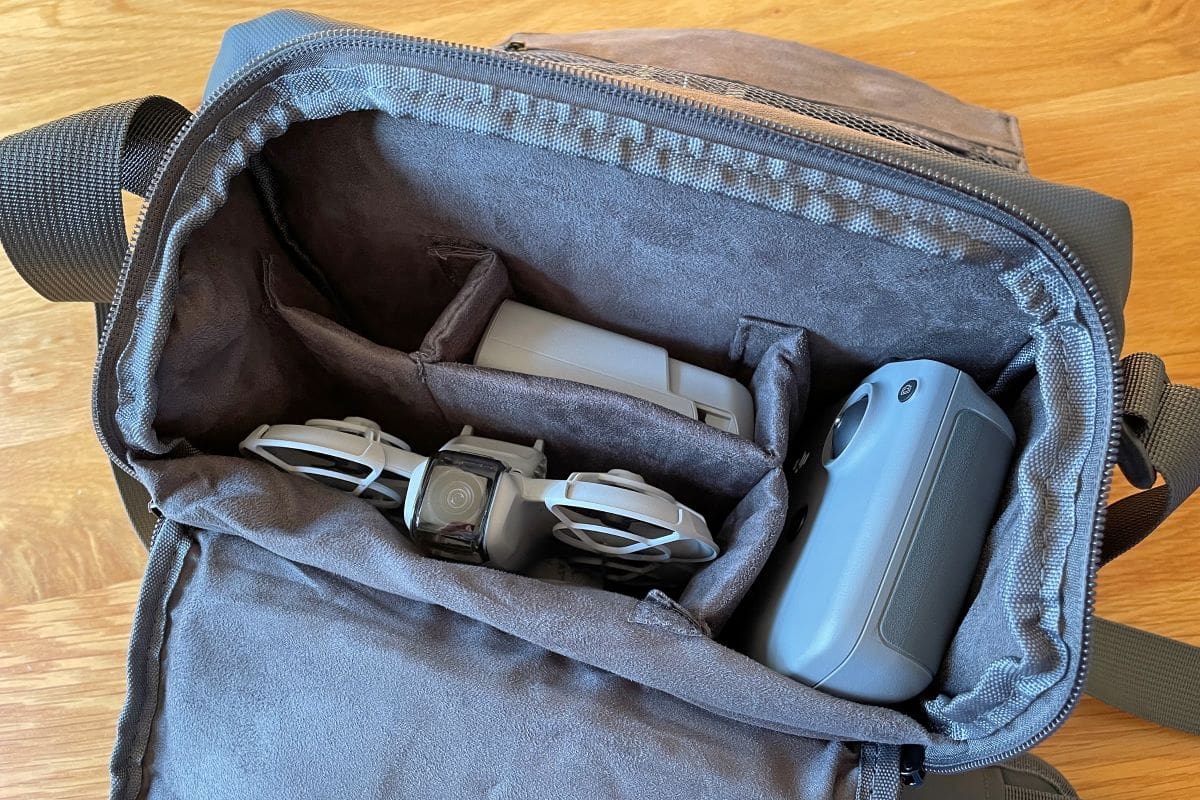
I quickly discounted the same type of bag that was supplied with my Mini SE ‘Fly More Combo’ which retails at a fairly hefty £69. The cheapest official DJI bag costs £35 but I couldn’t find a picture of that one with a Neo inside, plus Tx etc. But I did find a picture on Amazon of a Neo and a controller snuggled inside a soft case for just over £25. Other unofficial Neo bags are widely available at lower cost, but some have no room for the Tx and the spare batteries, whilst my chosen shoulder bag, branded FPVtosky, shares a similar layout to the DJI bag that came with my Mini SE. In fact, it has slightly more space and more zip pockets too. Proper job!