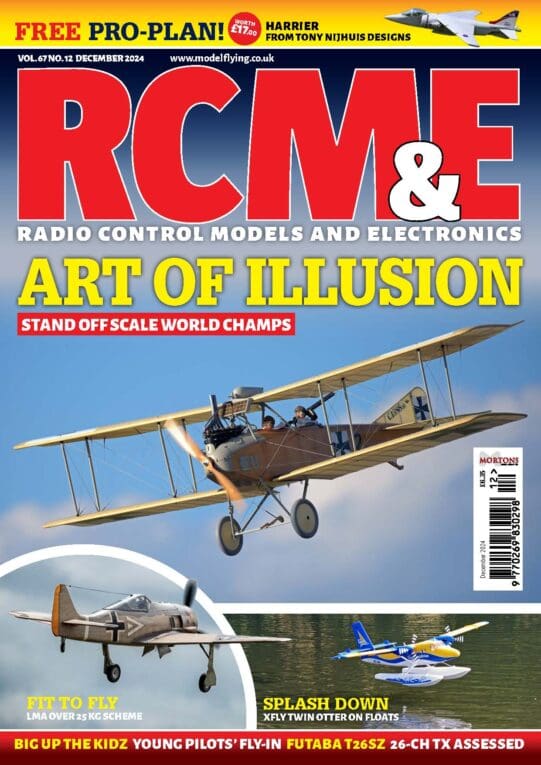
Foam models have given rise to all sorts of questions, not least how best to stick them together and protect them. Pete Lowe finds a few solutions using the Deluxe Materials range.
You will need:
1. A paint brush (for water soluble Foam Armour).
Advert
Enjoy more RCM&E Magazine reading every month.
Click here to subscribe & save.
2. Masking tape to hold the components together while the slower glues cure. Make sure that the tape will not damage the foam surface, or any decals, when it’s removed.
3. Disposable latex type gloves. These help keep your hands free of residue glue that may then find its way onto the decorative surface of the model during handling.
4. Instructions for the adhesive you’re about to use. Read them and you’ll be amazed what you can learn.
Advert
1

Foam in all its modern forms is now a standard aeromodelling material and, accordingly, requires its own specially developed adhesives that can both bond and protect it.
2

Instant cyano type glues are not always the best option when ‘working time’ is necessary to enable the builder to position and align parts accurately. For these jobs choose a product like Foam 2 Foam.
3

Again, when fitting parts such as this plastic servo cover it’s often best to use foam friendly glue that will give a little working time before it cures. In this instance the extra minutes will allow you to position the cover accurately over the servo without any binding.
4

Some foam models, like gliders, are designed to belly land on their unprotected foam underside. Foam Armour has been specifically developed to protect vulnerable areas such as this.
5

Lightly sand the foam and apply Foam Armour directly to the surface. Allow 20 minutes drying time, then lightly sand again before applying a second coat.
6

Another area of a model that can be subject to runway rash is the wing tip. Note that Foam Armour provides a suitable surface for decals and can be painted, too.
7

When wing panels are intended to be dismantled my preference is to glue the carbon spar into one side, this way it will never get left behind when you go flying! Test fit and mark exactly how far it goes into the panel, apply a coat of Super Phatic and push it home.
8

Small plastic control horns and their clip-on backing plates can work loose over time. A dab of Super Phatic will penetrate the fixing and bond it to the foam, thereby helping to keep the horn in place and the control feedback positive.
9

Super Phatic also bonds wood to foam and is therefore ideal for installing ply dihedral braces or the lining that’s employed to strengthen the inside of the battery carrying cockpit area.
10

Regular cyano can cause a blooming effect on canopies as it cures so the best variety for any job involving clear plastic mouldings is foam friendly odourless cyano.
11

Breakages are all part of foam model flying but this needn’t stop a day’s fun. Provided the damage is not to extensive it’s worth having a bottle of foam friendly cyano in your flight-box for a speedy repair.
12

Before applying glue have sufficient dry runs at matching the damaged parts and only apply the glue when you’re confident of getting it right. Incidentally, Foam Armour is ideal for hiding repaired joints.
Did You Know?
• Deluxe Super Phatic soaks into foam and adds strength, very much like the roots of a tree. It has been rumoured that Super Phatic is simply thinned white glue. Not true, for unlike white glue this one will bond plastic. Super Phatic can be used on balsa, ply, GRP, plastic hinges, foam and carbon fibre.
• When applying Foam Armour, it may pay you to lightly abrade the surface in order to help adhesion.Foam Armour also works on wood and can be mixed with acrylic paint prior to application.
• Foam To Foam dries clear and flexible.
The Deluxe Materials website is a treasure trove of information.
Go to the Deluxe Materials web site.
From the RCM&E Archive, June 2014.


