Steve Jones relates how modern technology helped him build a classic single channel R/C aeroplane whilst keeping his original kit intact.
words & photos >> Stephen Jones
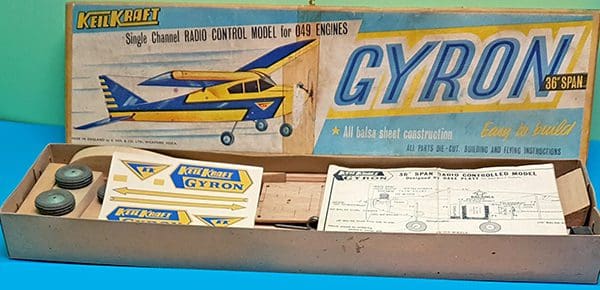
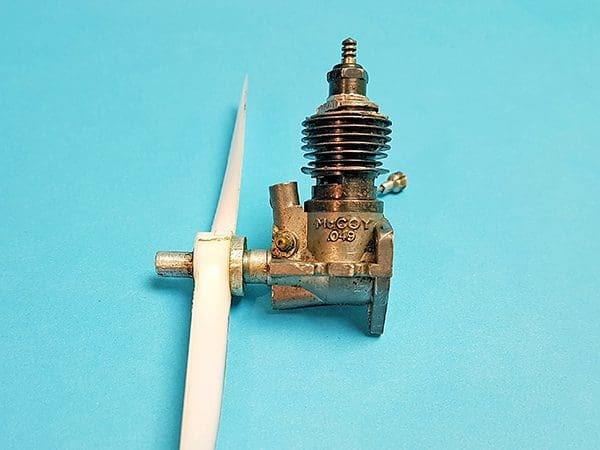
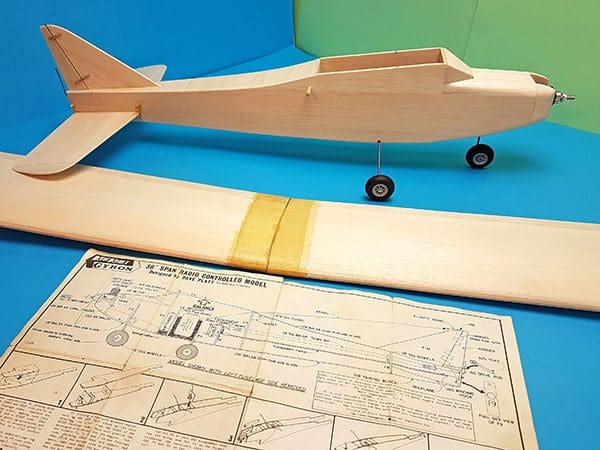
Finding myself with lots of time on my hands I decided to get out an old Keil Kraft kit that I was given many years ago. This is the Gyron, a single-channel trainer for an .049 IC engine and with a wingspan of 36 inches. It is a very rare kit as KK provided no plans for it in the box. Inside is a kit of die cut parts and pre-cut balsa; just follow the diagrams and put it together. But once built you could not build another because of that missing plan…
Enjoy more RCM&E Magazine reading every month.
Click here to subscribe & save.
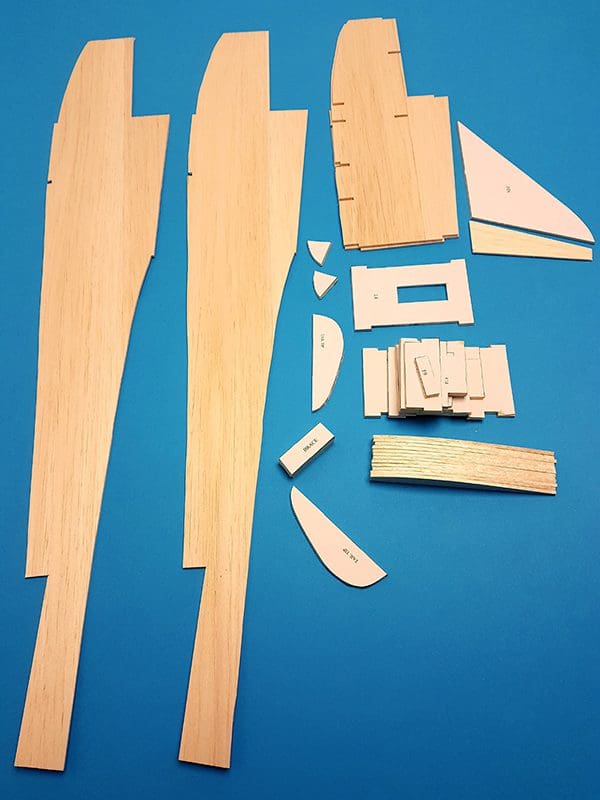
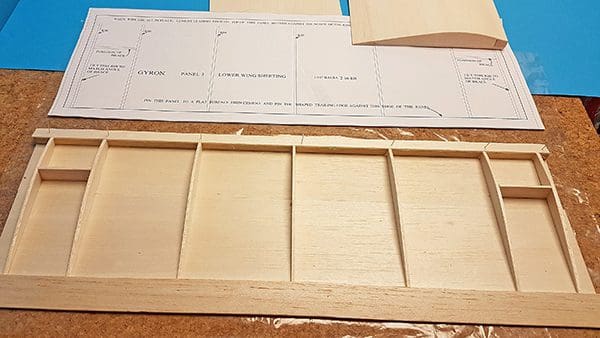
So, rather than just build the kit, I decided to scan all the parts and then put those scans into my CAD design software. I could then print out a plan, after careful cross checking with the original parts, from which I could now build a new plane from scratch. So here is how I set about it.
A FRESH KIT
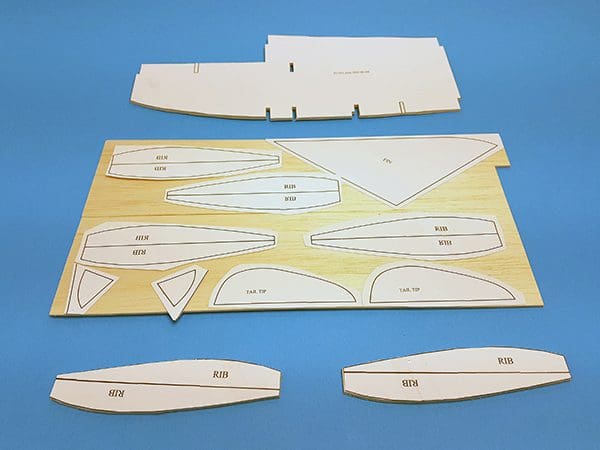
After printing out the parts on paper and cutting out them out as templates, I stuck them onto the appropriate thickness of wood. Now it was simply a case of cutting out a new kit of parts. I even copied the wire undercarriage, although I decided not to bother with the spring section on the front nose leg as this would be hard for me to reproduce and is not really necessary on such a small model.
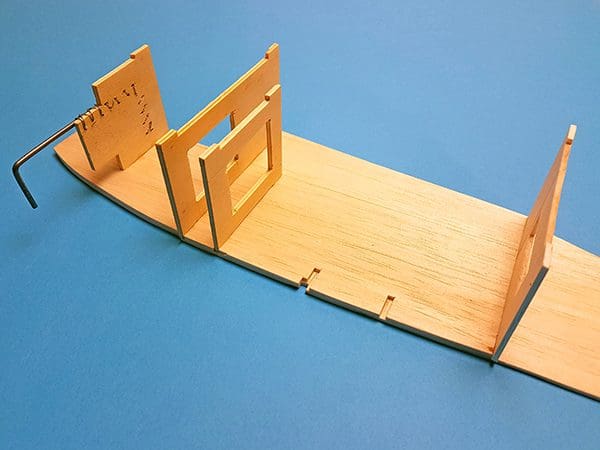
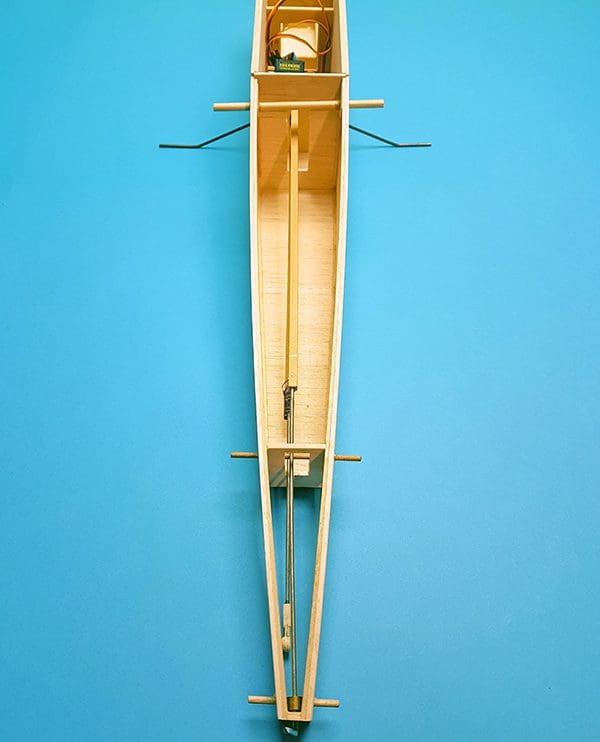
I began construction with the fuselage. The original parts had to be a certain length to fit in the box, however the finished fuselage is longer than the box. So, I cheated a little and made the fuselage sides full length out of one piece of balsa sheet. I then proceeded to build the fuselage following the illustrated diagrams.
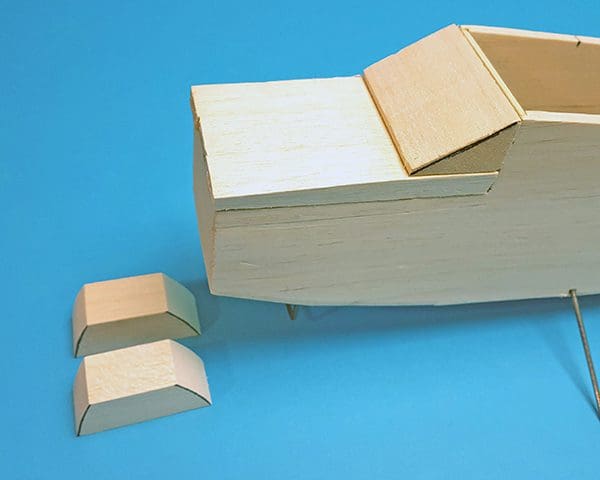
Some of the balsa blocks in the kit are pre-shaped, so I decided not to shape their replacements until the model was nearly completed.
OPTIONAL ELEVATOR
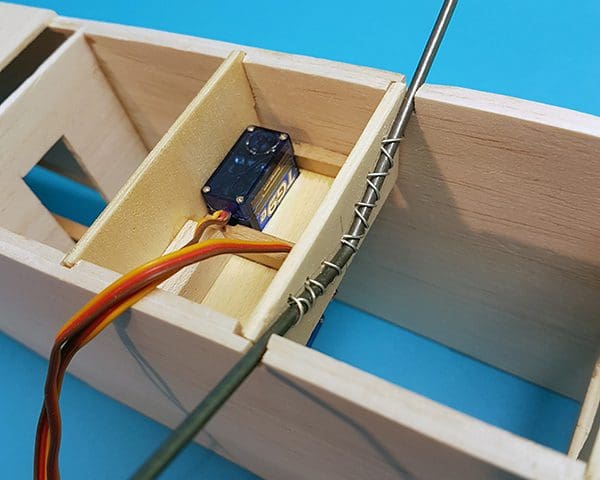
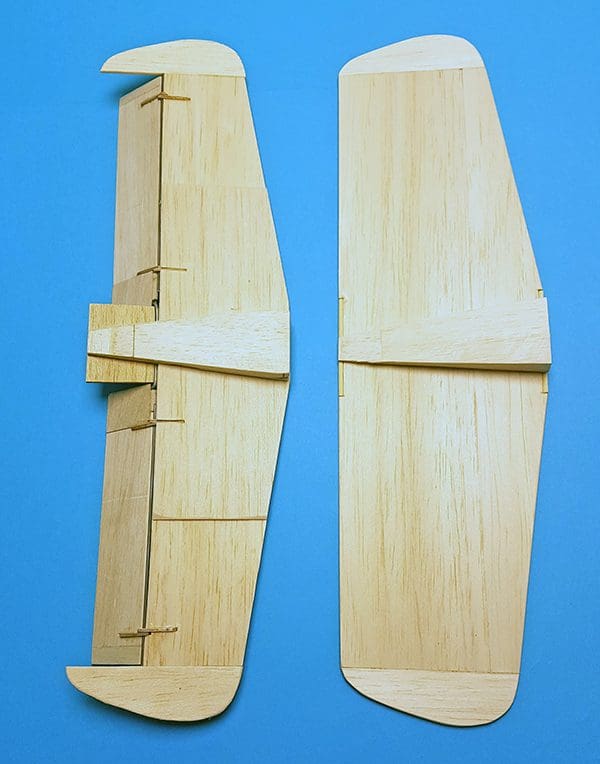
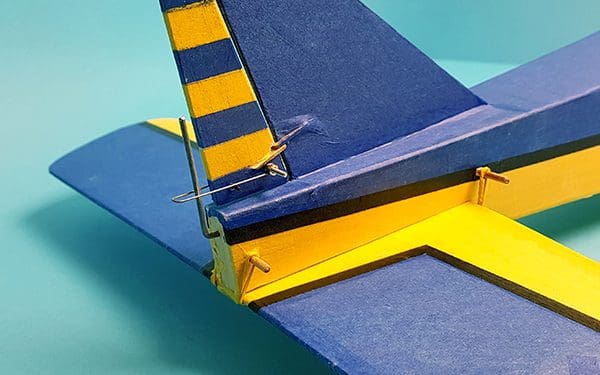
From the start it was my intention to fit modern radio gear to control this aeroplane, as opposed to the escapement that it was originally designed for. However, I still wanted it to look as vintage as possible, so that meant recreating the original rudder drive rod and yoke but using modern radio. I also wanted to add elevator control, so I decided to make two banded on tailplanes – one with elevators and the other without, as per the original. This would give me the option of removing the elevator control and rod if not needed; height could then be controlled by managing the power of the motor, which of course would not have been available with the original non-throttled IC engine.
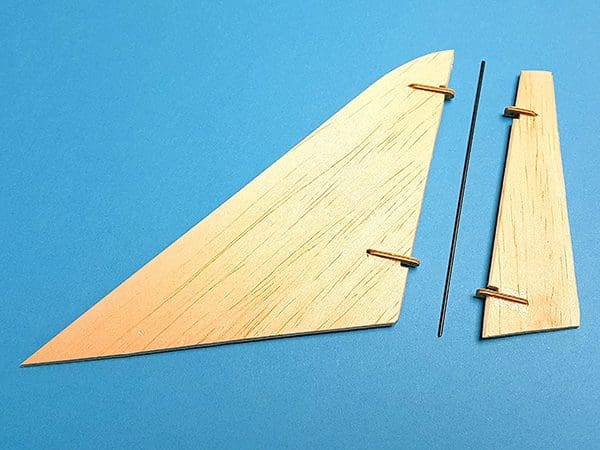
As I did not want the elevator control to be visible, I made the control run to it internal within the fuselage. Also, I did not want to make cloth hinges, or use plastic hinges on such thin sheet. So, I opted to make pinned hinges instead. I also made pinned hinges for the fin.
DESIGN TWEAKS
Whilst building the model it became apparent that the designer, David Platt, had to keep the model as light as possible as there are few formers, and he was relying on edge glued surfaces only. Having used an .049 IC engine before I know how little power there is available, but as I would be using a modern electric motor this would not be an issue. So, I added 1/16″ stringers to the top and bottom of the fuselage sides to give more surface area for the top and bottom decking to be glued to, also bearing in mind that the edges would need to be sanded.
Originally the fin was meant to be fixed to the fuselage after construction, again relaying on just the edge to be glued. I felt this would not be adequate so I made the fin a little taller and made a slot in the top sheet into which the fin could be glued, with additional support on the inside of the fuselage. This would give better support while looking as original as possible.
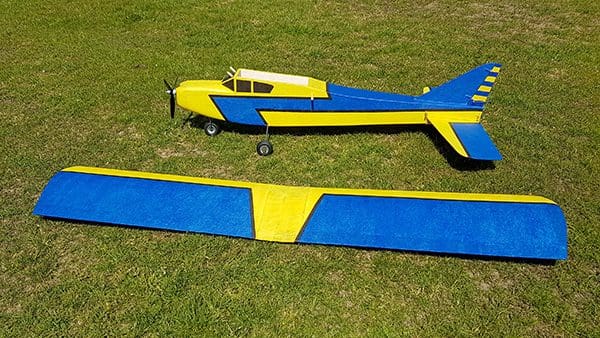
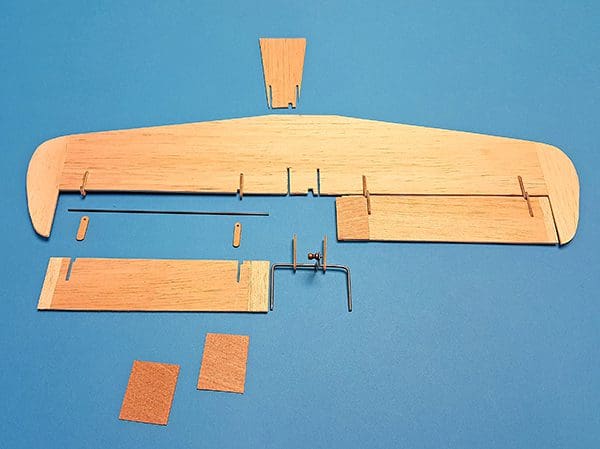
WING BUILD
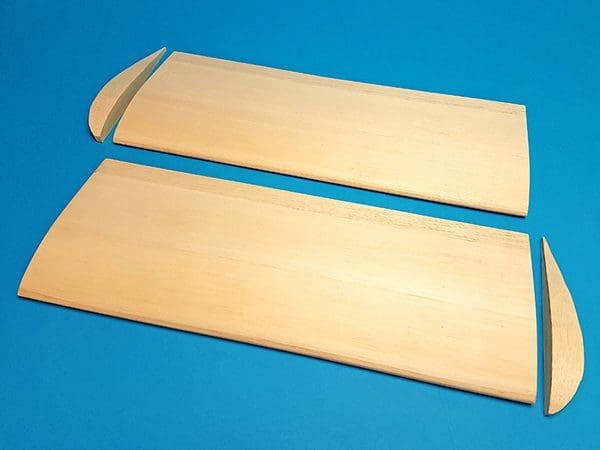
Wing construction is a little unusual in that it doesn’t have a spar but relies on the sheeting for strength. Although I carefully checked the parts I noticed that not all the ribs were the same size, so I quickly corrected them. I also noticed that the supplied leading and trailing edges were not the same size and if I had used the original parts it would have been a nightmare to correct. The leading edge was similar to the trailing edges, only thicker; this I made by cutting down a standard trailing edge.
After the built-up section of the wing was completed it was time to add the tip blocks and shape them. I used epoxy resin and glass cloth to bind the two wing panels together.
While on the subject of wing tips, I cannot tell you how many times the tips came off the tailplanes, so this is also something I will address on my plan at a later date.
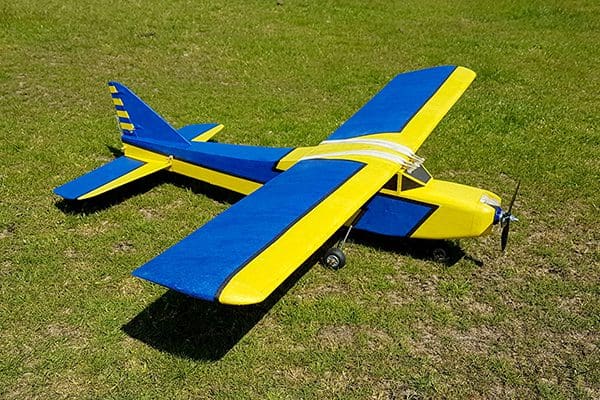
IT HAS TO BE TISSUE
Onto the covering, I wanted my Gyron to look the same as on the box art. This called for tissue. However, I did not want to use dope, so I opted for a modern finishing resin. After carefully drawing the pattern onto the model, I covered it in yellow and blue tissue. I hope you agree that it looks every bit as original as the one illustrated on the box.
WEIGHT WATCHING
It was stated that the model should be around 20 ounces All Up Weight when finished. So, how well did I do?
Well, I have no idea of the weight of the original escapement and single channel radio, but I could weigh a modern PP3 nine-volt battery, as well as an .049 IC engine and its supplied tank, which were 46g and 9g respectively.
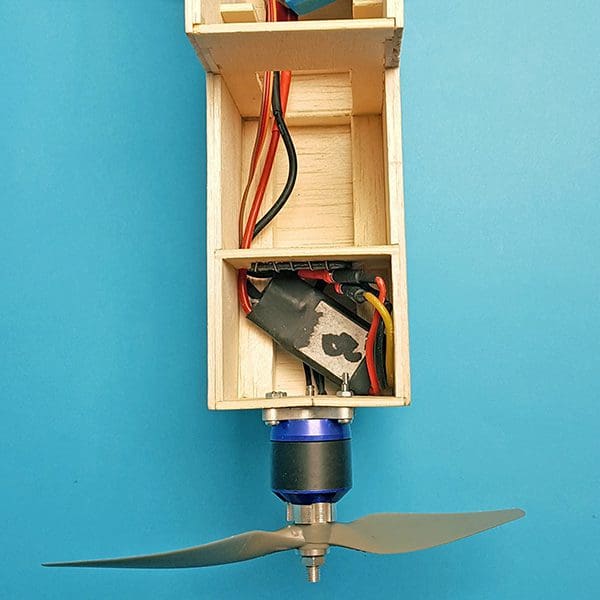
A modern electric motor is 46g, bit it also needs an ESC (48g) and a 3s 1300mAh LiPo (105g). Then there are two 9g servos and a FrSky receiver (6g). The new tailplane with additional working elevators adds an extra 10g. You can see where this is going…
Yep, a modern equivalent is heavier.
So, with a target weight of 566g, mine came out at 640g and so is 74g overweight.
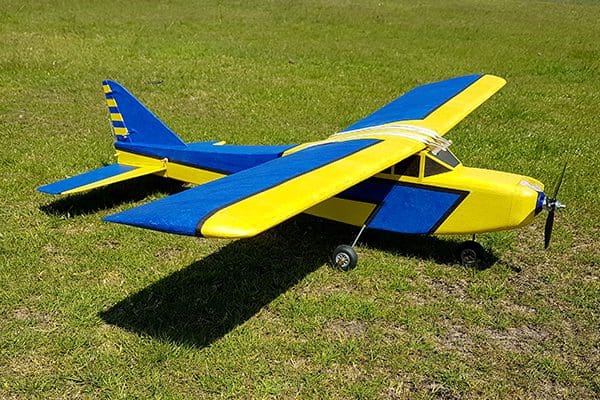
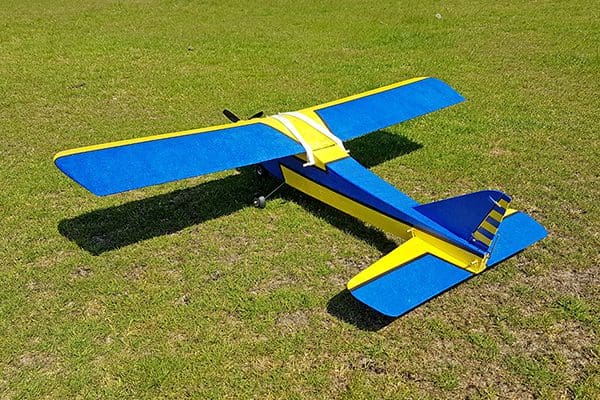
GYRON READY
So, there you have it. My new Gyron is ready for its maiden flight. Now that it is completed it looks a lot smaller than it did in bare wood – pretty but small!
I hope you enjoyed reading about this classic model and seeing my modern build of it.