A one-model gliding competition is a great way to spend a flying session with a group of like-minded clubmates. Kevin Crozier assembles his club’s chosen soarer.
Words & photos » Kevin Crozier
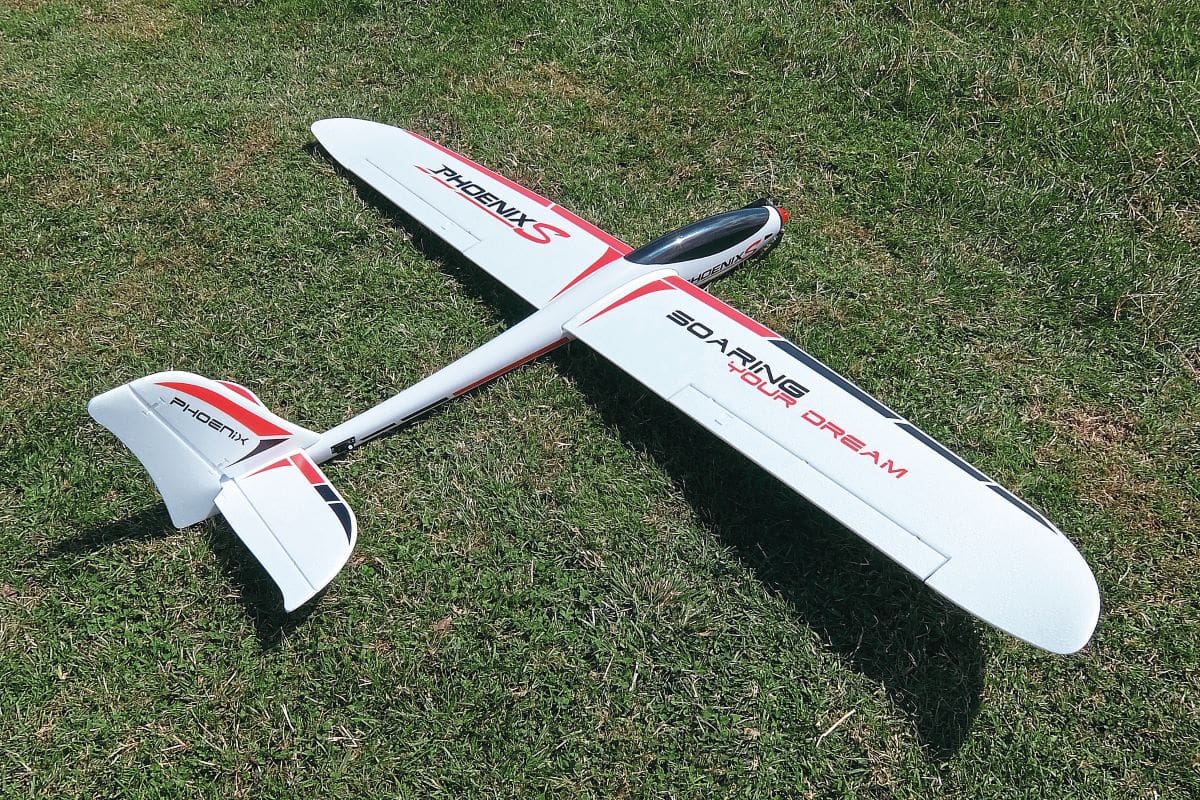
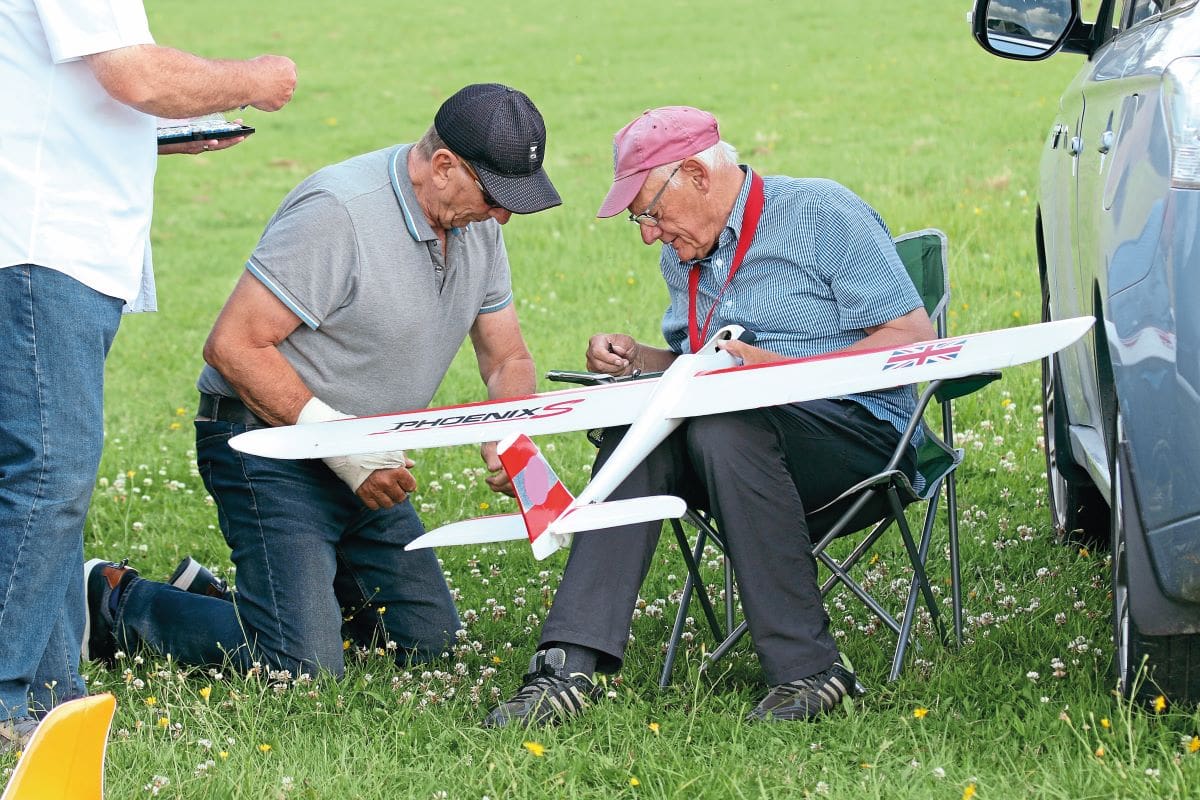
My local gliding club is well into its second season of our one-model summer evening gliding competitions. Our chosen model is the Volantex Phoenix S 1600 which has proven to be a superb all-rounder and pretty much the perfect glider for this kind of low-key thermal soaring competition.
Enjoy more RCM&E Magazine reading every month.
Click here to subscribe & save.
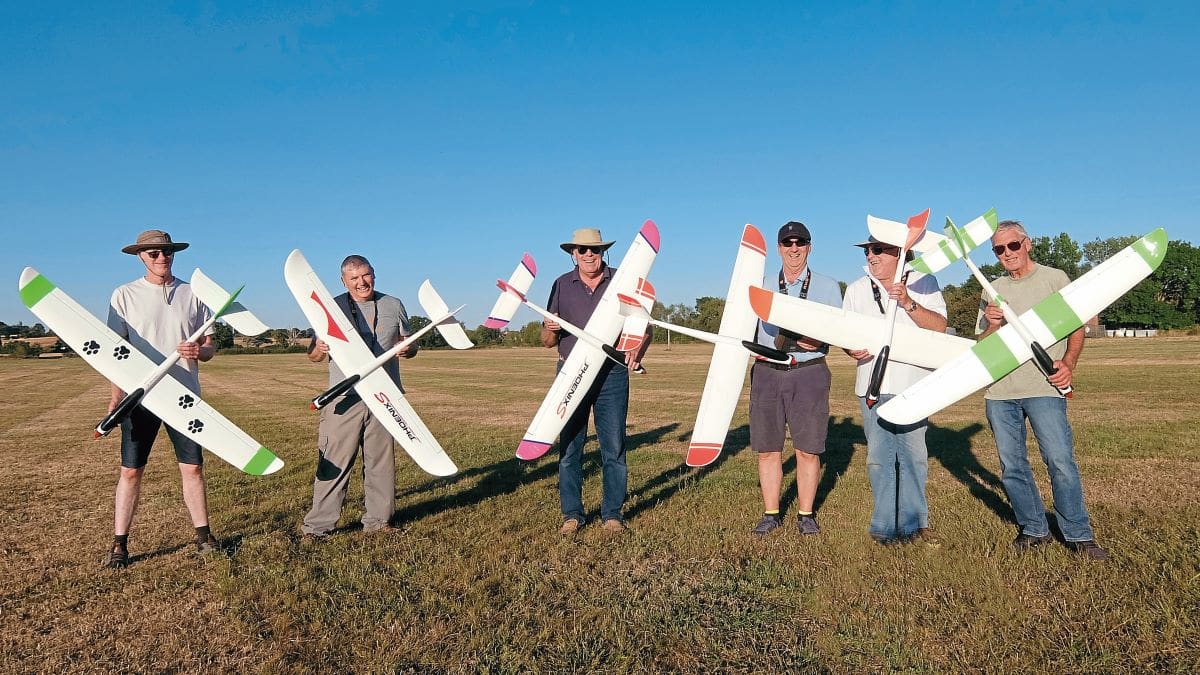
A summer one-model gathering is a superb way of bringing together lots of clubmates who, for whatever reason, may not otherwise be able to come together and enjoy each other’s company. It’s a bit like a winter indoor session, whether for flying or just a social, and the extra dimension of pitting your thermal soaring skills against a group of friends all using the same model certainly adds to the fun.
Our Phoenix 1600 comp was the brainchild of Graham Lorimer, who borrowed the format from a similar event run by another model club. Later on, I will ask Graham to outline the format so that you can give it a try at your local patch.
Of course, a one-model comp doesn’t have to be a gliding event; it could just as well be a low-key fun fly with power models. The main thing is to choose your aircraft carefully, make sure it is affordable and just get cracking while enjoying a great time with your clubmates.
AVAILABILITY
One of the limiting factors could be the availability of your chosen kit. The Phoenix 1600 has proven to be a super model but when we started buying our kits they could only be purchased from a well-known internet site via their warehouse in the EU. The delivery of most of our models took several weeks and, of course, some arrived earlier on people’s doorsteps than others, which caused some consternation.
The UK distributor for Volantex RC is CML Distribution but back then they were unable to compete on price with the internet shop. However, like so many things post-Covid this changed and they found themselves able to import the Phoenix range to sell to UK model shops at competitive prices, especially as UK consumers found that there was now no need to add on expensive overseas delivery charges.
Looking at the Phoenix S 1600 page on the CML website at the time of writing the stock levels are shown as green so now’s the perfect time to buy one of these lovely little gliders and hence support your local model shop.
BEFORE YOU START
First job in the small but well-illustrated manual is to add control horns to the ailerons, rudder and pre-joined elevators. But scratch that and turn your attention to applying the decals first as these are much easier to apply when the parts are flat on the bench.
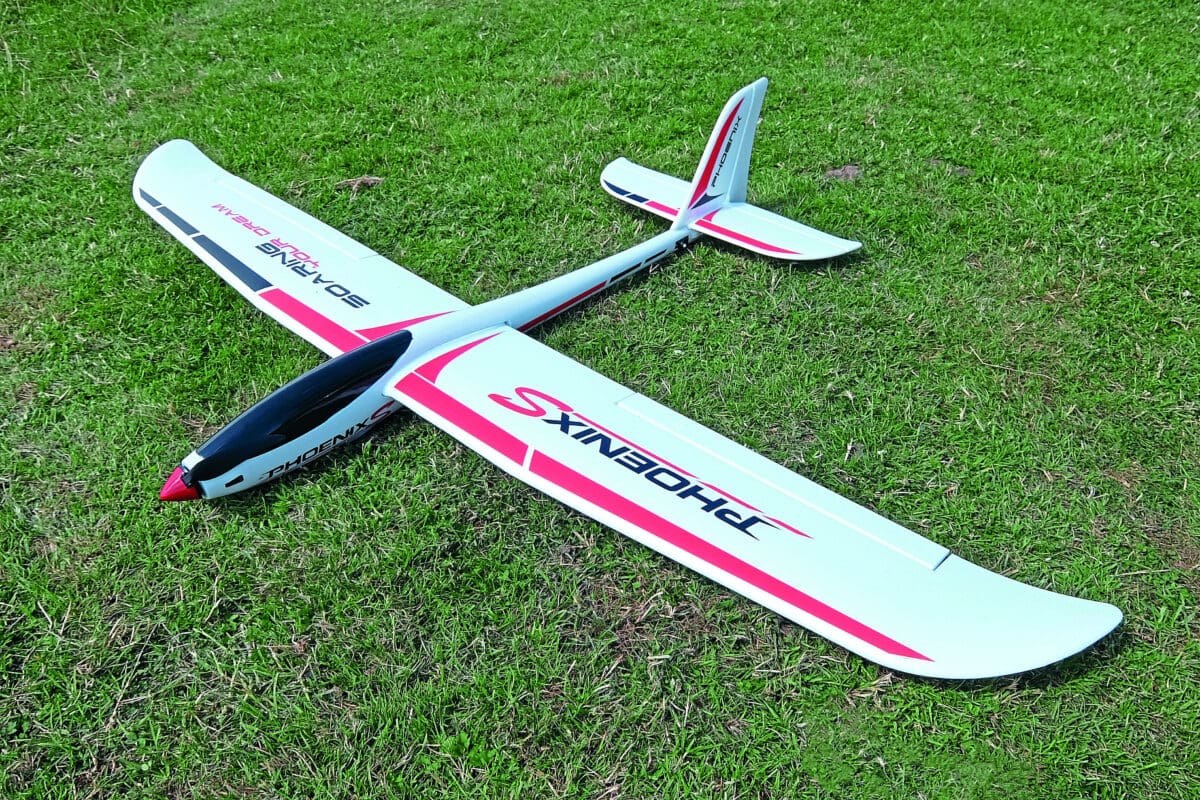
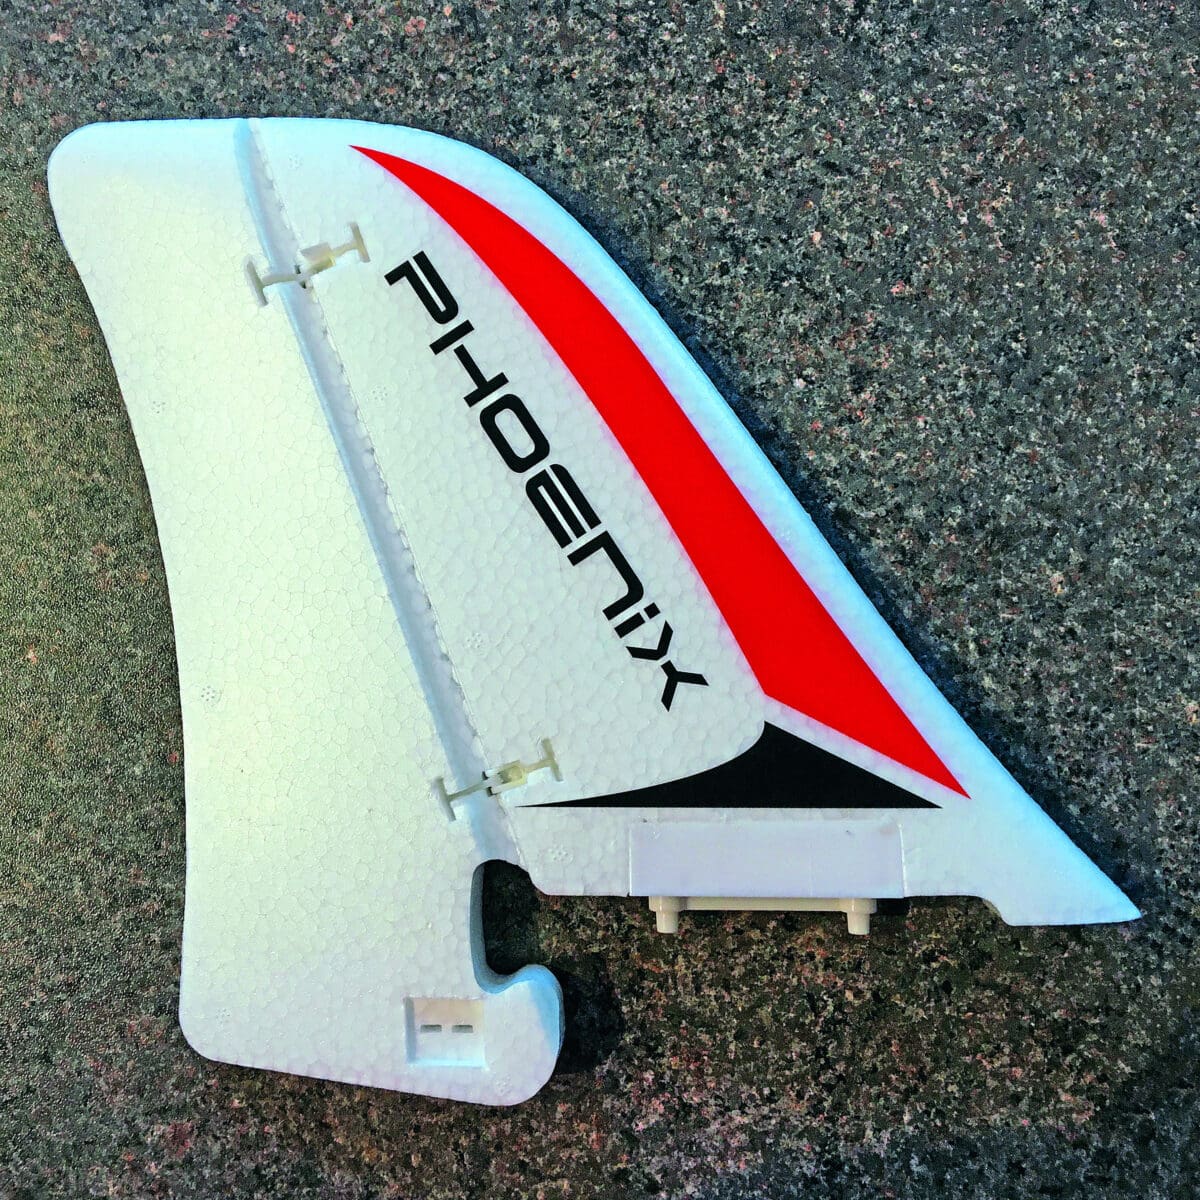
When assembling my own kit I made a real mess of applying the decals as they were badly creased when unrolled and very thin too. I did manage to apply some of the name logos okay, but the long stripes pretty much defeated me. In the end it didn’t matter too much as the last thing I wanted was a lookalike model, showing the same stickers as all the other models built by my clubmates. They must have all had the same idea though as I’ve only seen one other Phoenix flying with the kit colour scheme…
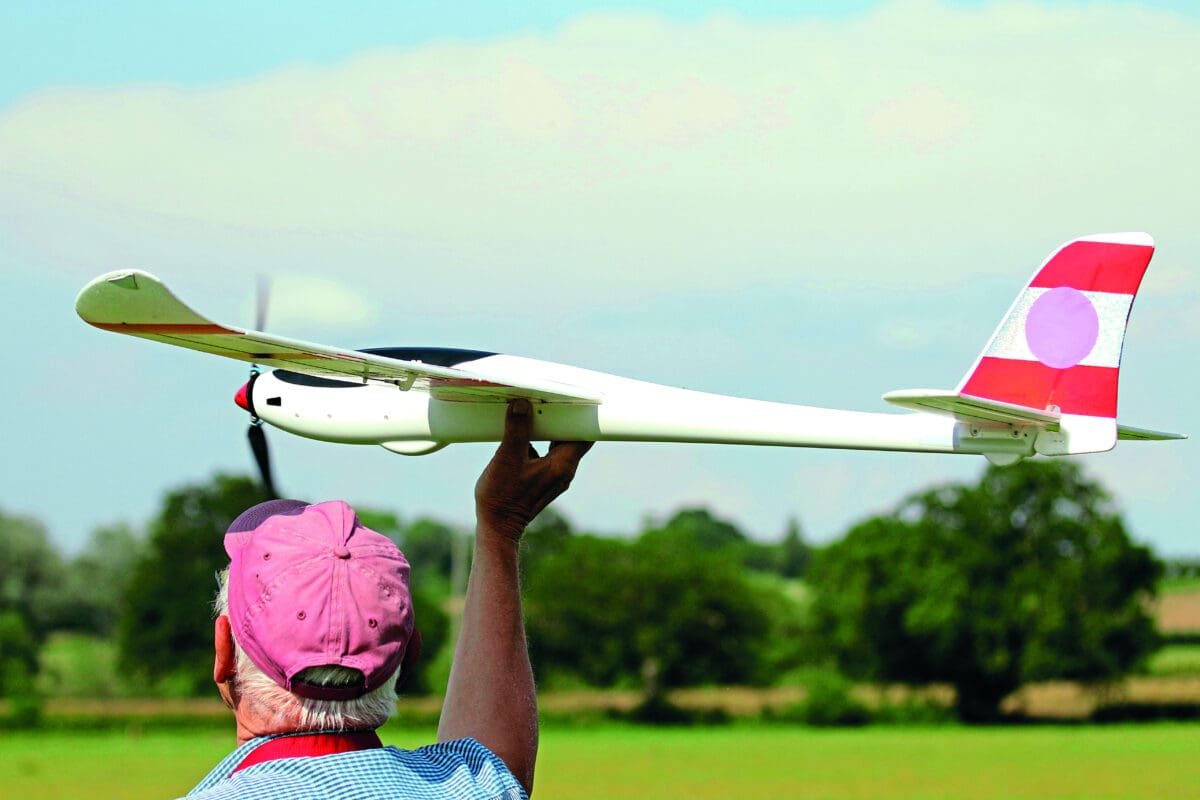
Having said that the kit scheme is very attractive, as hopefully you will agree from the intro shot. For this review I must admit to bailing out and so I passed the job over to John Freeman, who reviewed the larger Phoenix 2400 in the April issue. Here’s how he applies crease free decals.
EASY DECALS
‘The method I use to fit the decals is to first clean the surfaces with soapy water. Then spray soapy water on the surface and also ensure that your fingers are wet. This way when you lift the decal from its backing you do not leave fingerprints on the sticky side. Using the soapy water on the surface you can lay down the decal and slide it into position. Once happy with its location use a tissue to remove any excess water and leave it to dry. On the following day rub down the decals with a finger to ensure they are well and truly stuck down.’
ASSEMBLY
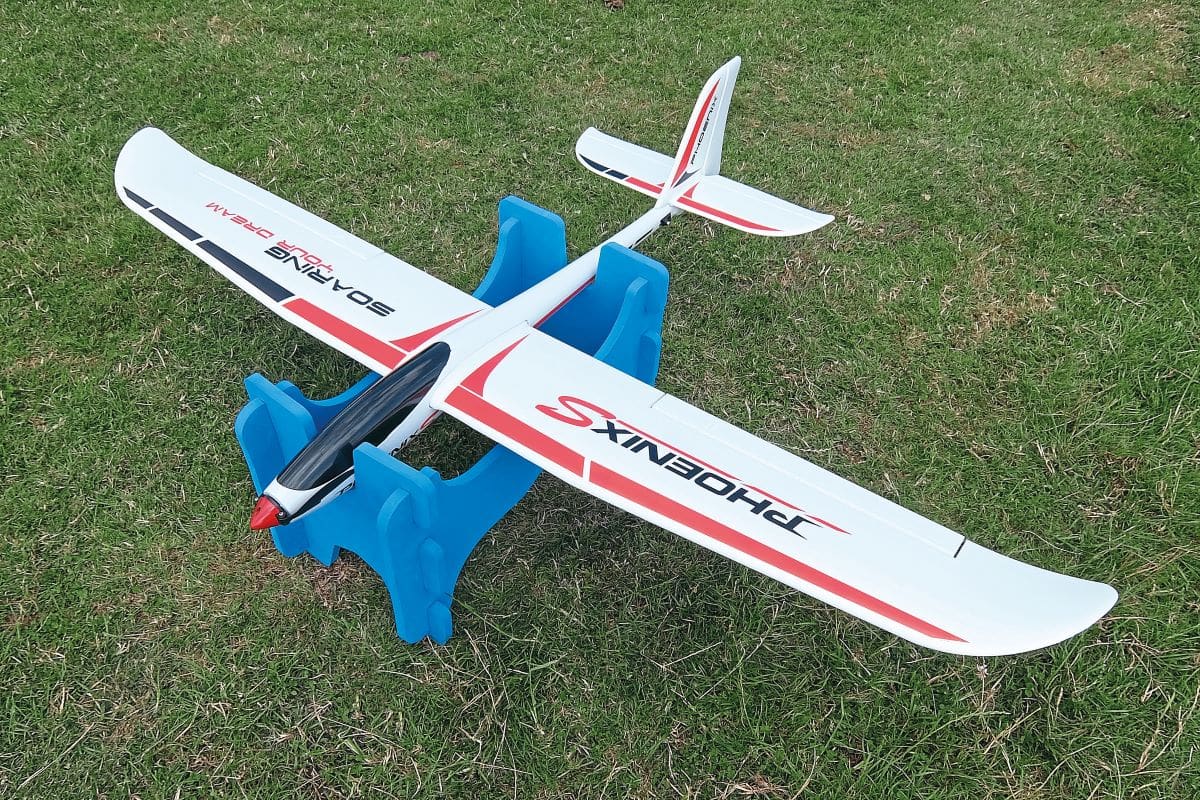
Phoenix S 1600 is quick to put together (once decorated) so grab a cuppa and it should be empty by the time you are ready to set up your radio.
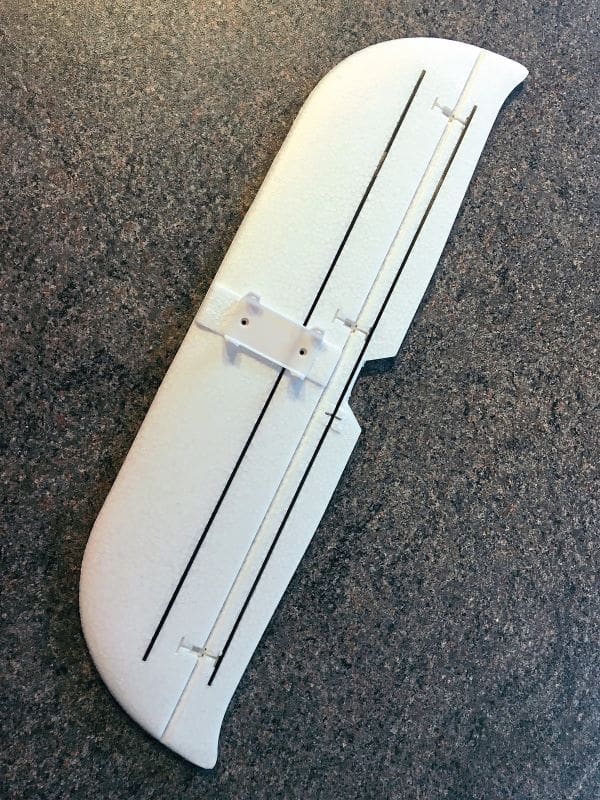
Back to the manual and after fitting all the control horns the assembled tail unit is screwed to its mount piggy-back style and secured with four small screws. I always check ARTF tails to make sure they line up with the wings and will add some thin packing if needed to raise the stabiliser if it is hanging low on one side. No such problems here and all was nice and square.
The tail servos are then connected to their control horns using the short wire pushrods supplied, ditto the ailerons.
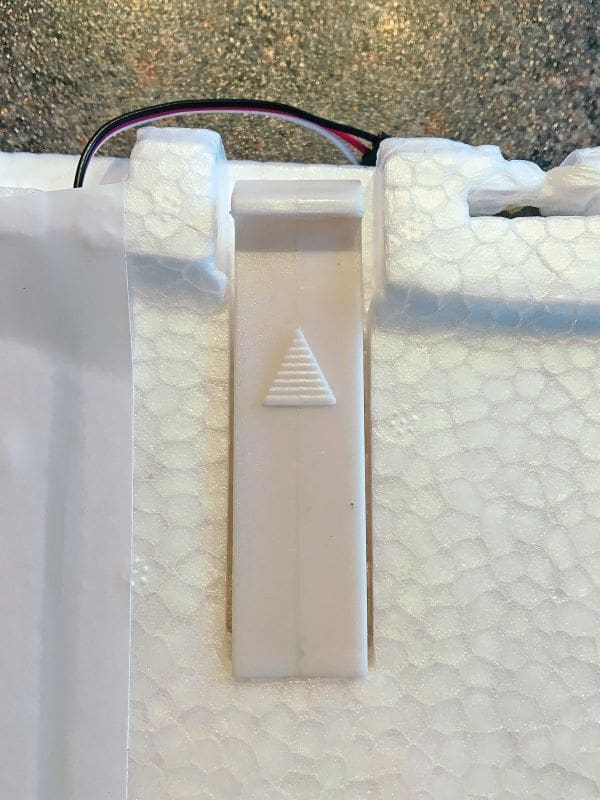
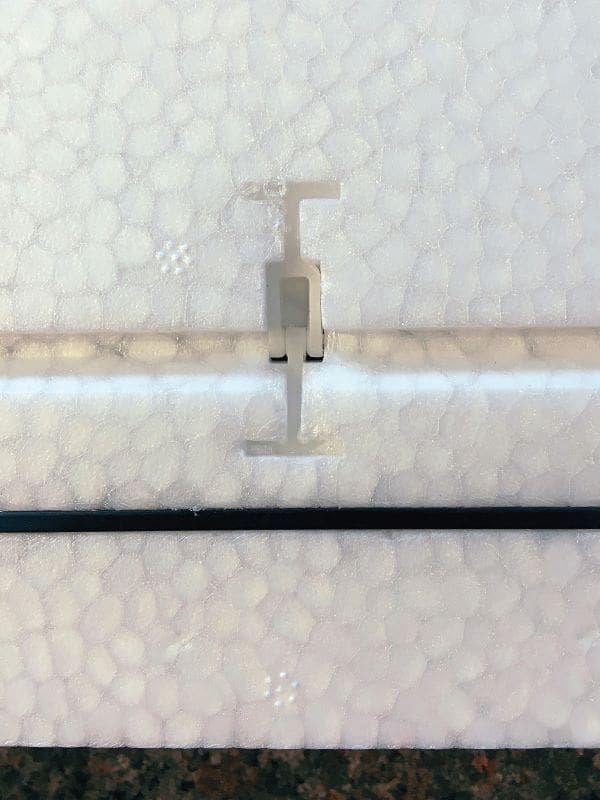
Time now to slide the wings onto the metal tube joiner. Each panel clips securely into position thanks to simple but ingenious spring clips which ‘click’ into place so it’s obvious when the wings are fully secured. But do watch out for trapping the aileron leads after attaching them to their Y-lead.
To take the wings off all simply use a finger to depress and release the spring clips on each side. If that doesn’t work then use a screwdriver blade to gently apply a little bit of extra pressure until the clips disengage.
The wing panels are braced with ply inserts, with carbon rods inserted in all the control surfaces to stiffen them. Before connecting the control surfaces, especially the ailerons, it is worth flexing the hinges a little bit to loosen them up as our sample was quite stiff out of the box.
That’s it! The Phoenix S 1600 is now ready to set up the radio.
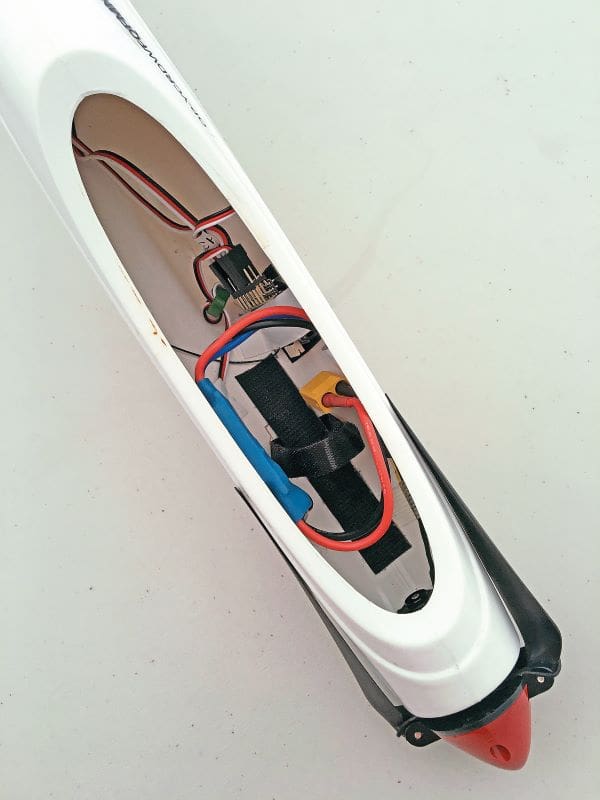
RADIO BAY
Popping off the black plastic canopy by gently squeezing the sides of the blow moulded fuselage reveals the large battery bay. A wide range of 2S LiPos will fit; the recommended capacity is 1500mAh but I started with a 1300mAh pack. I am now flying my Phoenix with a 660mAh LiHV.
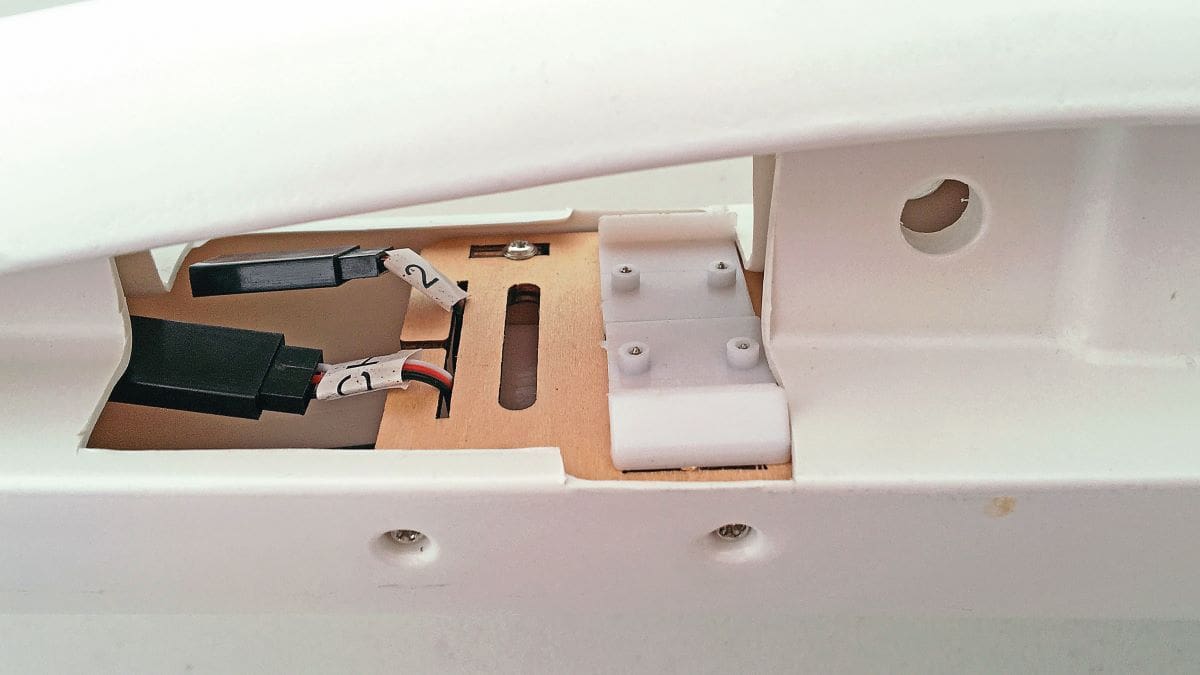
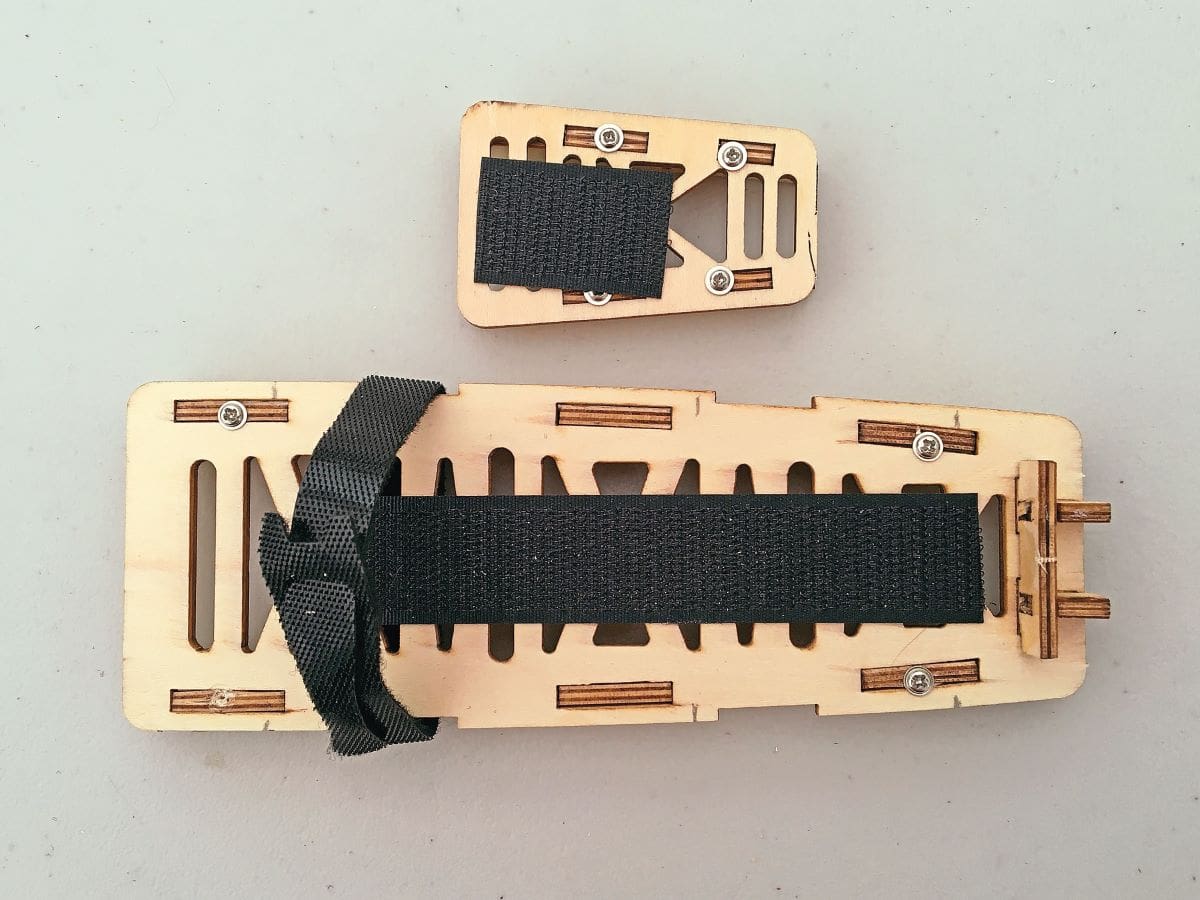
A ply battery tray is screwed to the fuselage sides and fitted with two hook & loop straps to secure the LiPo. A large piece of hook & loop self-adhesive tape is also supplied to attach to your LiPo to provide some extra security should you want to perform gentle aerobatics. Raised at the rear of the radio bay, between the wing root mouldings, is a smaller ply tray on which to mount your receiver.
The fuselage is pre-fitted with servo extension leads, two reaching down to the tail servos with a further Y-lead to connect the aileron servos. The ends are labelled with channel numbers: CH1 – Throttle, CH2 – Ailerons, CH3- Elevator, CH4 – Rudder. But you may need to swap them around to suit channel allocations of other radios.
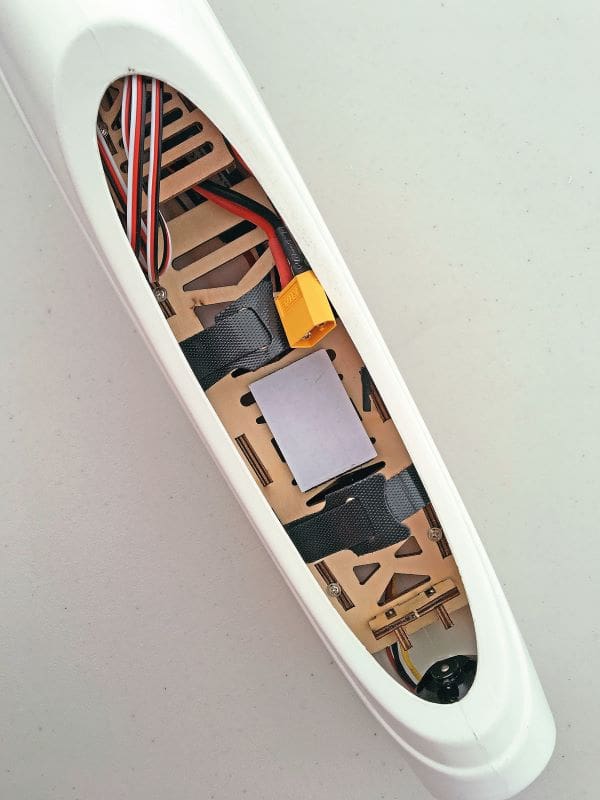
Under the LiPo tray is a 30A ESC which is connected to the BL 2212/1400kV motor. The motor is secured to the front of the fuselage with a round metal mounting plate. A couple of NACA style inlet holes on either side of the motor allow cooling air into the fuselage which can circulate freely around the ESC and LiPo.
No control surface movements are given but +/- 10 mm on each aileron and a similar amount on elevator, maybe a touch more of up, should get you started. A bit more on rudder too but as we’ll find out later this model flies just fine without it…

BALANCE POINT
I don’t remember any major dramas when flying my Phoenix S 1600 for the first time over a year ago. She gets away just fine at the recommended C.G. position of 70mm behind the leading edge, which is just over a third of wing chord. The instructions say ‘the C.G. has a GREAT effect on the way of the model flight’ [SIC] which is generally very true and a sensible thing for a manufacturer to say. But the truth is that this little glider is very tolerant of a wide range of CG positions, as my clubmates and I have found out when trimming our models for competition flights. In my experience you’ll know when you have gone too far when, out of the blue, she starts rearing and dipping like a bucking bronco, which is a bit disconcerting when she has been flying like a pussycat only moments before. This is fine during a sport flight but it can lose you valuable height to sort out during a six-minute competition flight.
At the other end of the scale, I’ve had my 1300 pack pushed up tight in the nose, close to the rear of the motor, and she flew just fine then too, if a little insensitive to lift. So, a bit like Goldilocks, somewhere in the middle seems to suit me fine right now, especially considering the light weight of my 660mAh LiHV packs.
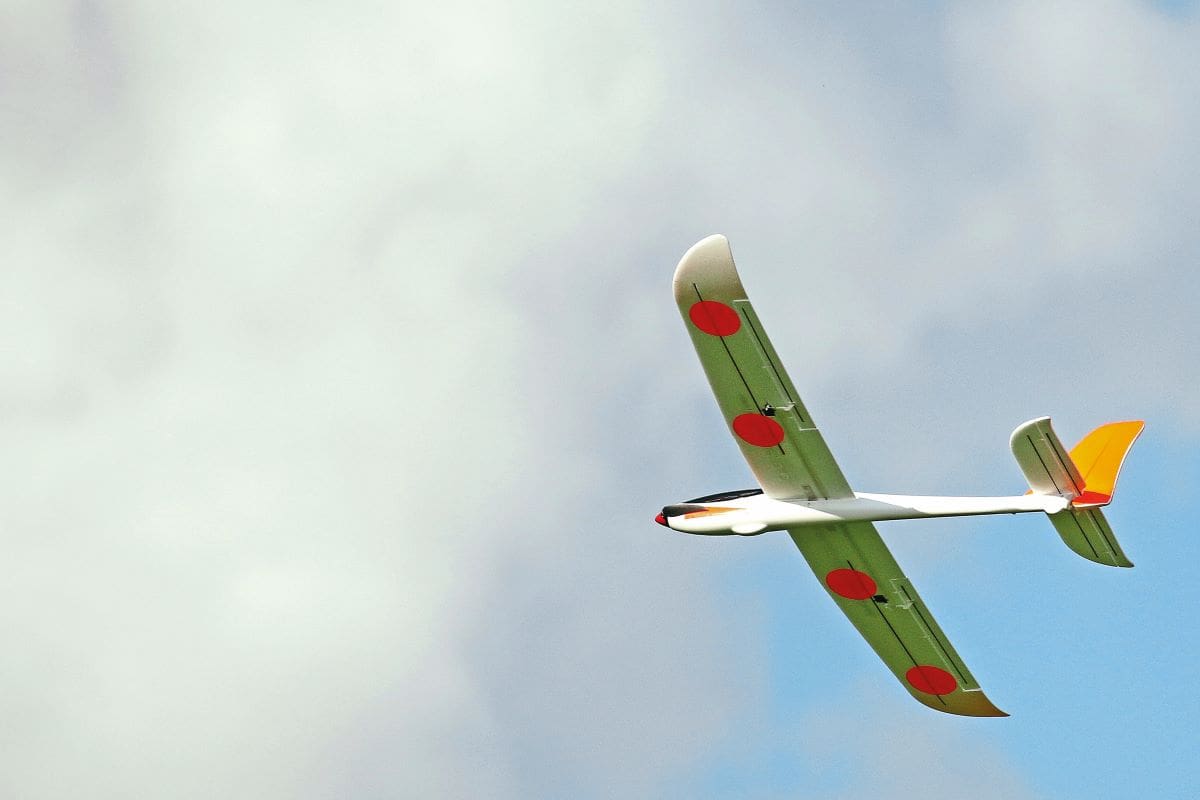
SPORT FLYING
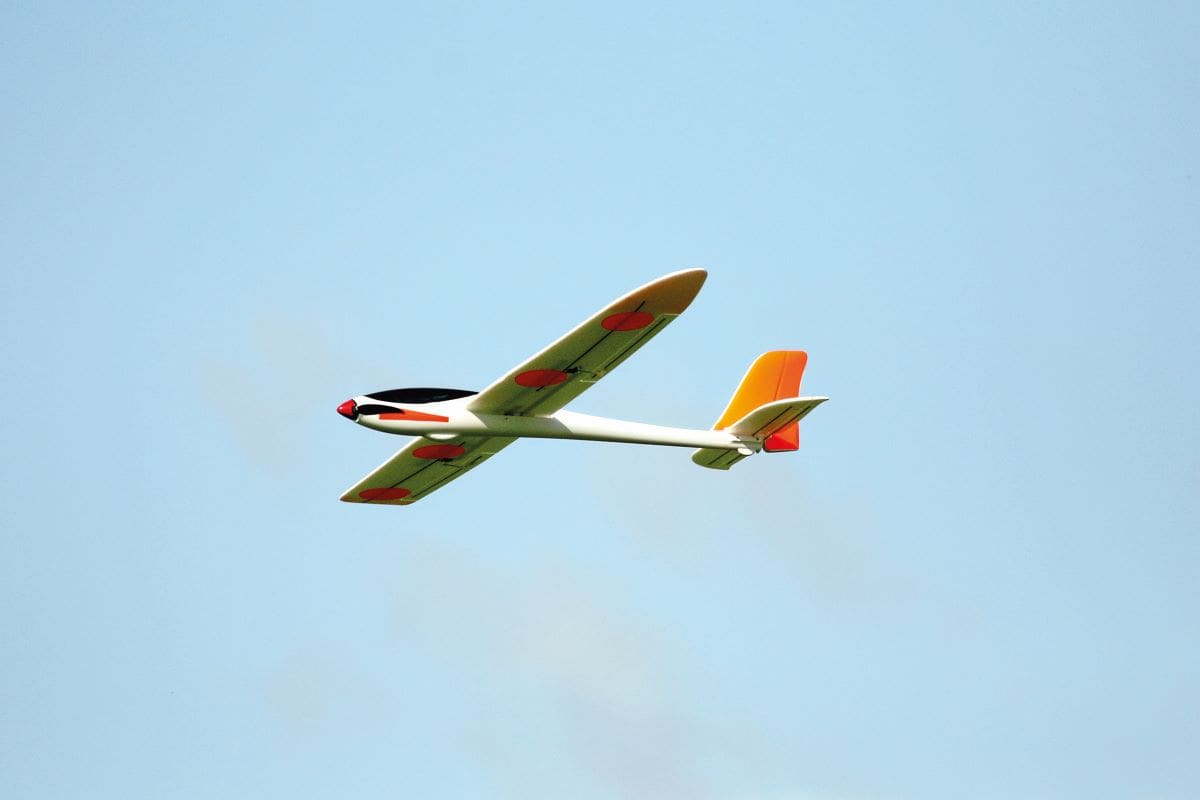
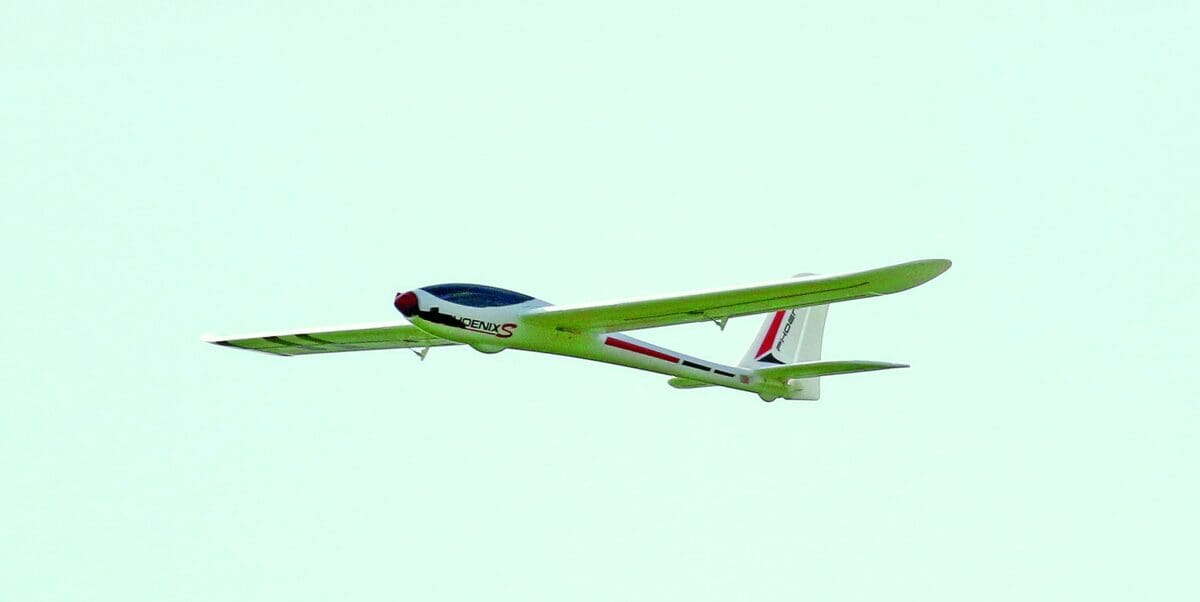
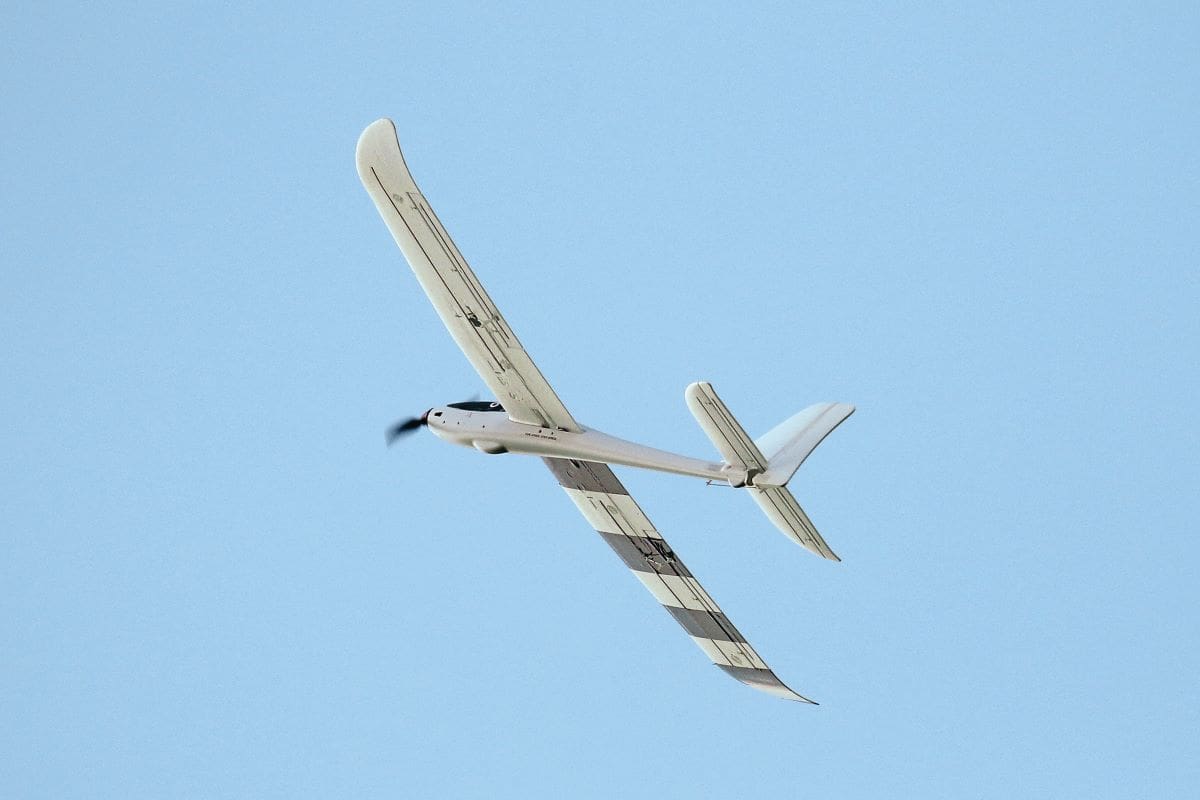
Phoenix S 1600 is a great little all-round electric glider. A 2S pack is good for at least three climb outs and on a nice day it’s rare that she will not hook up some lift during at least one of these glide phases. She is capable of gentle aerobatics too at higher rate settings.
I often take the Phoenix with me as a reserve model when the car is filled up with my larger power models as it takes up so little room with its wings off. The panels are protected by the bubble wrap bags they came supplied in.
COMPETITION FLYING
As promised earlier I’ll hand you over to my clubmate Graham Lorimer to describe how the Phoenix can be used for a low cost, high fun one-model thermal soaring competition:
‘Our Phoenix S 1600 powered glider competition aims to encourage less experienced glider pilots to get some low-cost competition experience. It offers some real-life competition experience which rewards being properly prepared, with batteries and the model set up being well sorted in advance, combined with the discipline of flying as smoothly as possible to maximise any lift encountered.
The only model allowed is the Volantex S 1600 four channel glider with a 1600mm (63”) wingspan. It can be purchased from UK model shops and requires just a transmitter, receiver and 2S battery. Since we run nine rounds in one evening it is best to have three batteries to ensure that only two or three launches are used for each battery before it goes back on charge.

RULES
Only use a Phoenix S 1600.
Everyone must use a 7.4V LiPo but battery size/capacity is a free choice. We have flyers using from 600 – 1500mAh batteries and all sizes won rounds last season.
It is all about smooth flying for the first 30 seconds to maximise altitude achieved under power, then a smooth transition from power to glide (even the best pilots stall off the power run sometimes) and searching for and recognising the lift when encountered and then flying very smoothly to maximise performance.
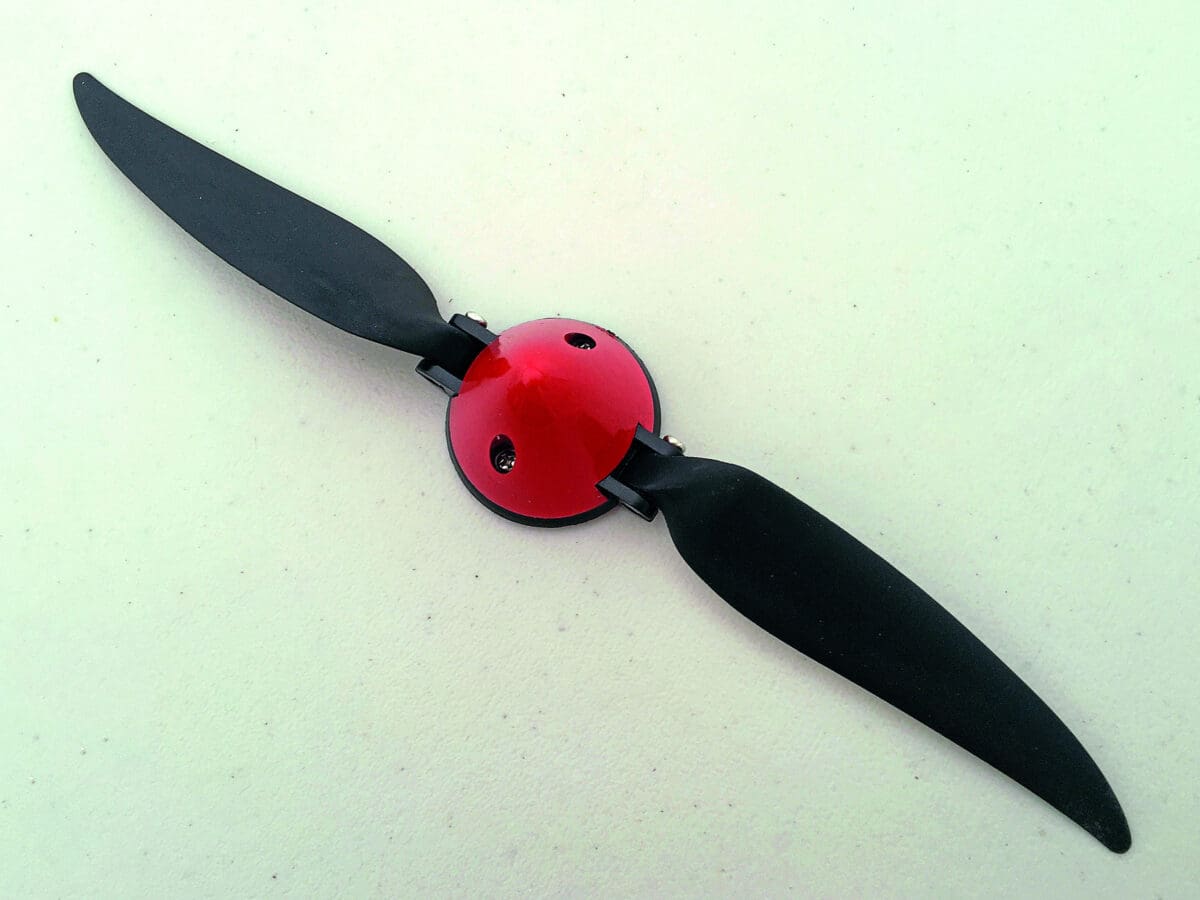
All competitors must use the standard motor, propellor and hub unit as supplied with the model or the replacement A2212-10T 1400kV unit that can be bought from Banggood. The suggested replacement motor does require dismantling and changing the shaft around so that the prop end comes out at the mounting end but that’s just a 10-minute job.
Each round starts with a synchronised mass launch with a 30 second motor run. The Competition Director can fly in the round and uses a count up timer on his transmitter to shout out a 5 – 4 – 3 – 2 – 1 countdown for when all flyers must shut off their motors.
POINTS AWARDED
Each pilot shouts out their name when their model touches down. It helps to have a non-flying club member to record the order all the flyers land in.
First down earns one point, the second down two points and so on.
There is no spot landing, the only requirement being that a landing must be made within the flying field.
A six-minute flight time max is enforced with full points awarded to all those competitors who max out in any round.
Our Phoenix comps run from 5.30pm in the summer and we manage to fit nine rounds in before the summer light fades. The competition is on a Wednesday or Thursday evening with forecast flying conditions being the governing factor as to when the comp is held. Usually, a decision is made the Sunday before a comp is due to be held.
SUMMARY
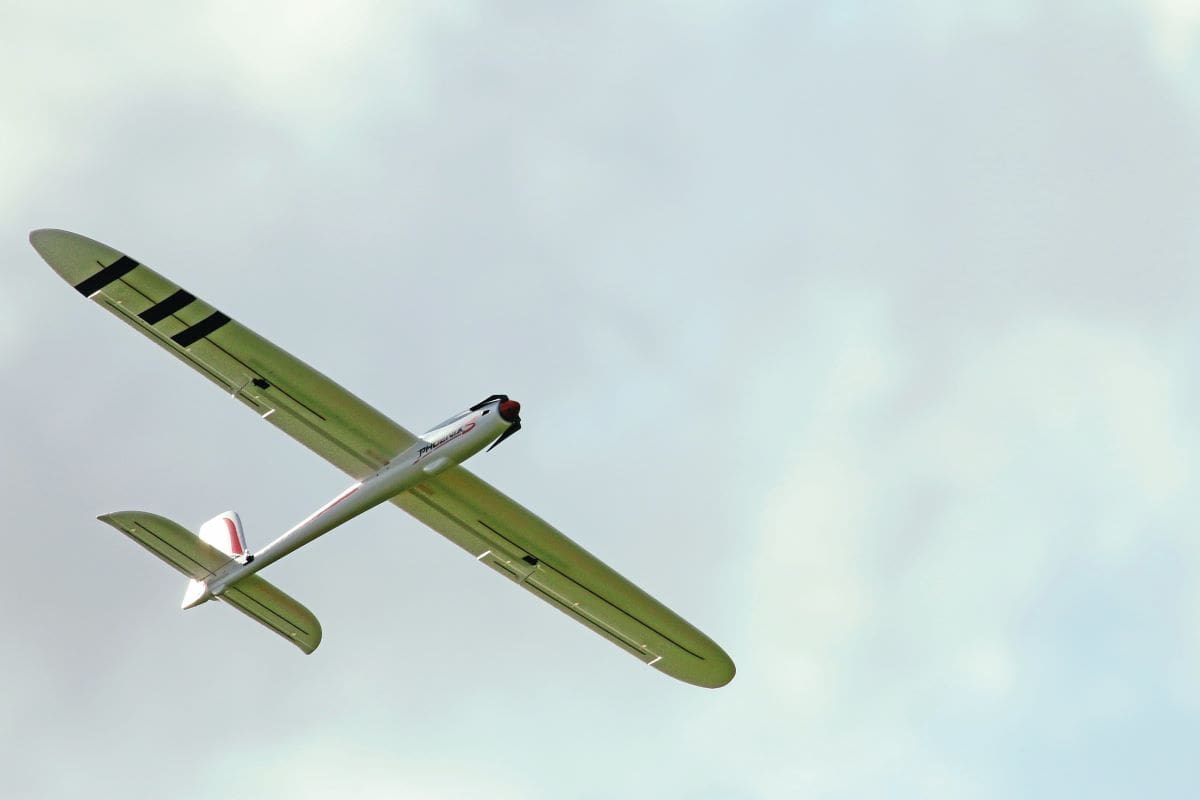
The Phoenix 1600 is a very capable model when flown well from a launch height of 130 metres. And with a little bit of thermal assistance the six minutes maximum is very achievable.’