
A few weeks ago we looked at the roll, and added the refining complexities of using all the controls smoothly to perfect the manoeuvre and achieve consecutive roll executions. Now we’re going to tackle the hesitation roll, where the need to use the ‘full house’ of controls becomes mandatory and not optional. We’re going to split this one in half, but to start let’s remind ourselves of the four zones of the rolling clock again here as illustrated.
Ignore the detail between the quarters for now and focus on what’s required at each quarter hour.
The model is level and upright when the fin points to 12:00; in this orientation height is adjusted with up elevator. To achieve the same result with the fin pointing at 6:00, we need to use down elevator. With the fin pointing to either 3:00 or 9:00 the model is effectively in knife-edge, and we must use top rudder (i.e. use the rudder like an elevator) to lift the nose.
KEEP IT UP
When studying the roll before, the aim of the game was to perform consecutive rolls in a straight line without dropping any height. We started practicing by performing it in an ascending line (approximately a flight path of 30° relative to the horizon) with tail adjustments as necessary. When the model finished the roll still pointing at 30° we’d cracked it; the manoeuvre was then perfected by dropping the angle until 0° was achieved.
Enjoy more RCM&E Magazine reading every month.
Click here to subscribe & save.
We’ll apply the same lessons here and use the ascending flight path as before, but this time when the model reaches a level position, inverted or upright, hold station for a second. The more hesitations you fit into a run the harder it will get, and as you find yourself getting the hang of it increase the pause to 2 seconds – count ‘one thousand, two thousand, roll’. Remember to apply and hold a little down elevator at the 6:00 position and a little up at the 12:00 position.
When you have the hang of that reduce the pause to 1 second again, but introduce two new pauses, at 3:00 and 9:00. Here you apply a little top rudder to keep the nose perked up. To help you remember, if you start the roll to the right then apply left rudder at the first stop, if rolling left then use right rudder at the first stop. Practice this until you’re getting the right amount of control input – as there are now four zones of altitude adjustment the 6:00 and 12:00 hesitation points should require less elevator compared with the same positions during the non-hesitation roll.
Keep this up and drop the angle of attitude to about 10 – 15°. Try to keep it in a straight line but don’t worry if it looks a little untidy, as we’ll sort that out next. The key here is to use the correct amount of suitable control at each quarter point of the clock.
THE RIGHT STUFF
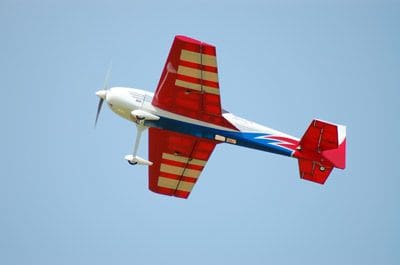
If ever there was a case where the right model makes a difficult manoeuvre easier then this is it. The upside to having the perfect model is that you’ll not have a fight on your hands and you might wonder what’s so hard about performing the manoeuvre; the downside is that without learning to fly them on a less-than perfect airframe, you might not actually learn to fly the manoeuvre fully because that perfect model is doing half the work for you.
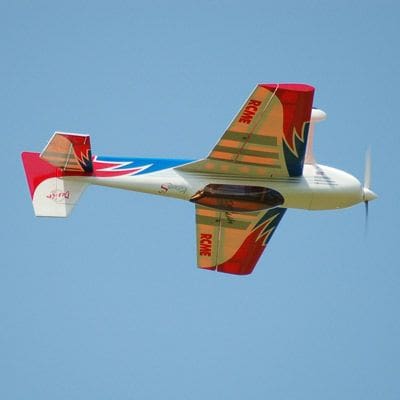
So what model suits? Almost anything will do a four-point roll, it’s simply a question of how you approach the manoeuvre and what’s required of you to get the desired result. Ideally you want a model that, at the very least, has reasonably well-mannered response to rudder inputs, i.e. when you apply a bit of rudder during straight and level flight it doesn’t veer significantly off course. Bad side effects will include a tendency to loop / bunt or roll, or a combination of the two. We’ll look at causes and remedies in future, but if your model’s pretty well-behaved on rudder then it’s good enough.
So, we’ve (hopefully) mastered a very basic four-pointer – the result may not be particularly smooth and it may feel mechanical – input aileron, stop, apply rudder, stop, input aileron, stop, apply down elevator and so on. That’s ok, the important point is that you’re stopping it on the right quarters and, moreover, putting in the right control directions at the hesitation points. Now we need to refine it.
Remember that a hesitation roll is exactly that – there’s plenty more besides the traditional 4-pointer. 2-, 3- (yes, 3!) and 8-point rolls are often required in aerobatic schedules, so learning to do it properly at the first time of asking will prepare you to tackle all the variations with comparative ease.
Study the clock diagram again for the rest of the detail, and by all means fire up your PC and get stirring on the simulator. The clock diagram isn’t the ‘black and white’ of how to perform a rolling manoeuvre, but it gives a general idea – some models will require more or less control input depending on how ‘perfect’ they are.
Let’s begin by refining the first and second quarters. As the diagram shows, be prepared to bring rudder into play by the middle phase of zone 1. The common error here is to bring the rudder in too late – so whilst there might be enough on at 3:00 to hold station, the plane has already started to slip off its straight line. Look to gently bring in the rudder almost as soon as the roll begins. The other common error, which is inevitably scarier, is application of the wrong rudder command! But hopefully we’ve got that sorted by now; if you push the aileron stick into the centre of the Tx? then do the same for the rudder stick and vice versa.
Here’s roughly what you’re looking to achieve input wise.
● Wings level with the fin pointing to 12:00. Start the roll; by 1:00 you might need a little amount of rudder and may have possibly introduced a tiny amount of elevator on the way to 1:30.
● 2:00 – more rudder, cutting down any elevator.
● 3:00 – rudder only (in theory) and pause. I say in theory because if your model isn’t perfect then a little aileron or elevator coupling may be needed to keep it straight. If by this time it’s gone bendy, turn around and start again until you can keep the first quarter straight-ish.
● Moving on past 3:30, begin to reduce rudder and by 4:30 it’s probable that you’ve started to introduce down elevator.
● 5:30 – heading towards the end of zone 2. The rudder is back to the small dose held at the very start, and you’re well into the down elevator blend practiced earlier.
● 6:00 – nothing but down elevator applied and flying inverted from here for a short distance.
So there’s Zone 2 and Quarter 2 complete. Don’t be hard on yourself if you’re not heading in precisely the same direction as when you started – abandon the manoeuvre and start again. Keep practicing until you can achieve a reasonably good, controlled 2 quarters. It’s important to do this in manageable chunks rather than to rush to complete the figure.
When you’re doing okay here, add the second half and finish the third and fourth quarters.
Zone 3 will match Zone 1 but in reverse; reduce down elevator on the way through and increase rudder until 9:00 when you have rudder only (remember you’re now using opposite rudder). Because you’re doing everything a little slower and stopping in-between, your brain might lose track of what rudder direction you used in the first half… no worries, that’s why we’re doing this climbing at 30° so there’s plenty of room for a gaff!
Zone 4 sees a reduction in the opposite rudder and perhaps the introduction of a half dose of elevator toward 11:00 – 11:30 – now we should be back on track.
Aim for each quarter to take just under a second to perform, i.e. enough time to say ‘one thou’. The pauses will be about the same period of time, but by all means make them longer, it’ll improve your technique in the long run. When you feel you’ve got the hang of your 4-pointers using rudder and elevator to correct and control as you go round, raise the bar and lower that angle of attack as close to 0 as you dare – remember that the first quarter is crucial for dictating the altitude and attitude consistency for the rest of the figure. When you’re getting close to 0° slow it up so the duration of each quarter and each hesitation is just over a second.
ROLLING OUT
This manoeuvre is difficult to perform well, so if at first you don’t succeed… try and try again – it will come to you eventually.


