In ARTF form balsa low-wing sportsters are hard to find. David Ashby flies a welcome arrival
Words & Photos >> David Ashby
This was the sort of model that dominated club flying fields 25 years ago. Back then the path to flying proficiency wasn’t negotiable. You nailed the basics with a balsa high-wing trainer, then moved on to a balsa low-winger to hone your precision and aerobatic flying abilities. Properly mastered these models embedded the skills that allowed flyers to turn to more exotic machines with a good degree of confidence.
Enjoy more RCM&E Magazine reading every month.
Click here to subscribe & save.
Then foamies came along. Now, while I like foamies and own several, the tidal wave of choice they offer has tempted far too many beginners away from a methodical training path offered by a balsa follow-on machine. Worse, the balsa low-winger has been a casualty to the extent that manufacturers have largely discontinued their low-wing sportster lines, while for UK distributors, supply can be sporadic. So, finding an affordable ARTF example is difficult.
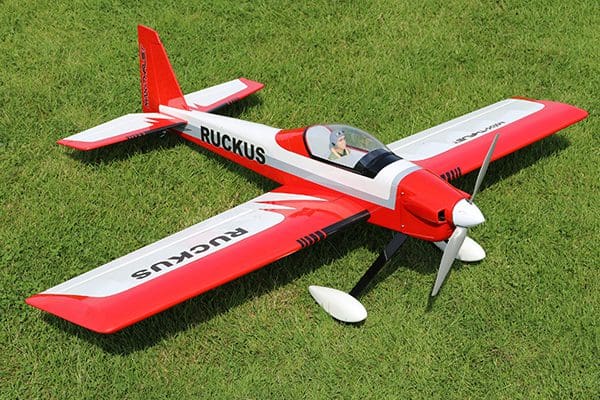
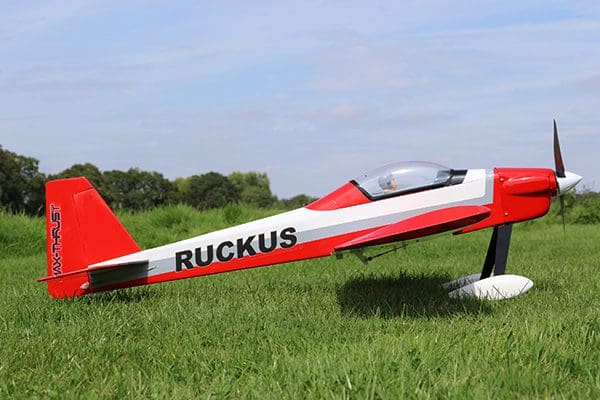
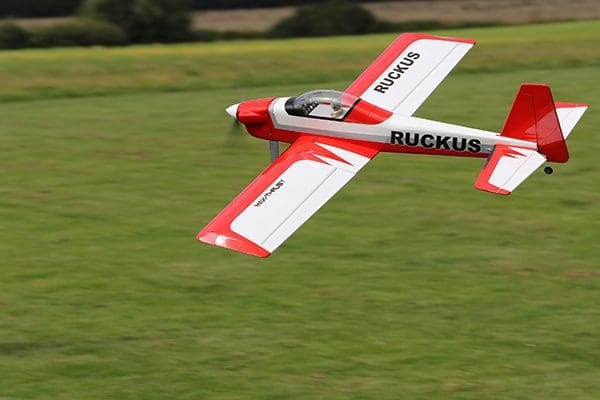
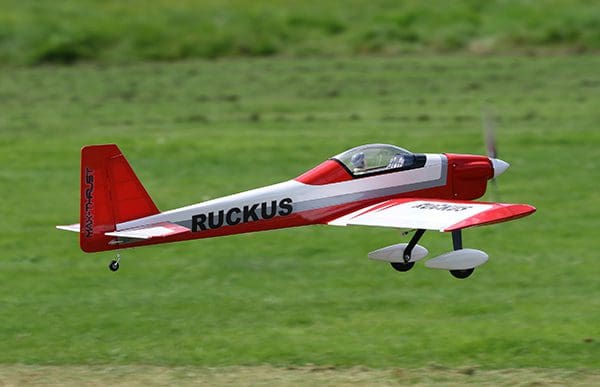
That’s why this new balsa version of the Ruckus foamie is such a welcome sight. Designed by Century UK’s Mark Tilbury, it spans 54” (1380mm) and accommodates electric or IC power systems.
CLOSE UP
Balsa ARTF aficionados won’t need the box’s ‘Made in Vietnam’ sticker to tell them which factory this came from. A glance at the hardware, even the way it’s nicely packaged, points to a familiar source, which is a good thing.
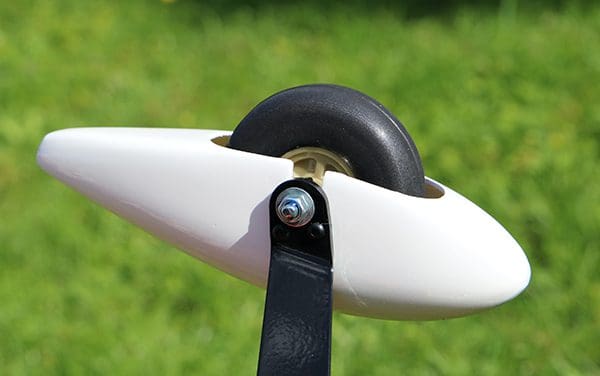
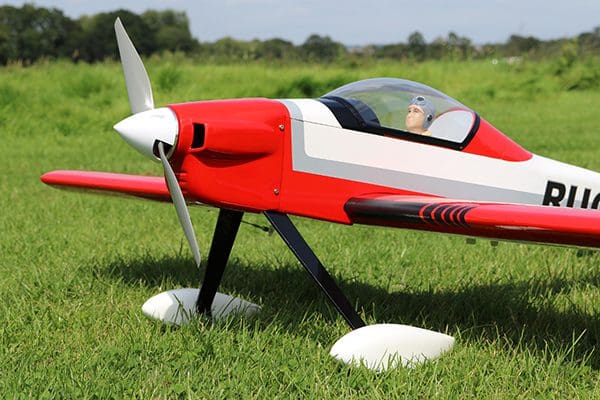
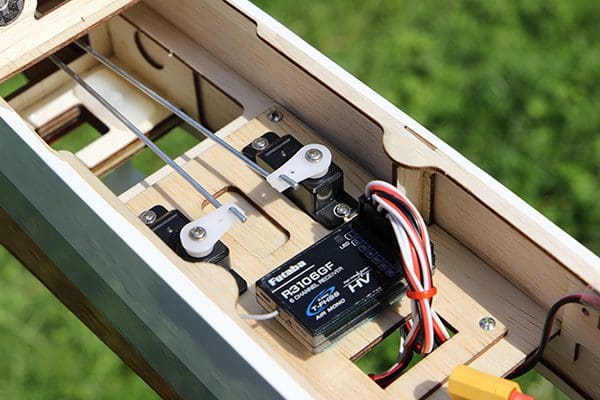
It’s a very complete kit that includes a fuel tank, an IC engine mount, a wooden stand-off for an electric motor, glass fibre wheel spats with pre-fitted captive nuts, a pilot and painted fibreglass cowl. The built-up, two-piece wing uses a semi-symmetrical section, and the flat tail feathers an open structure. Large control surfaces point to a decent level of agility and a long canopy hatch reveals a spacious interior that’ll easily swallow up your servos and receiver, along with a fuel tank or 4S LiPo battery.
Although fuselage servo cutouts are sized for standard units, an additional ply plate, cut for mini servos is included and a nice touch. Century UK kindly supplied four of their Powertech 17g metal gear servos, two with 450mm leads for the wing (so eliminating the need for the 200mm extensions suggested) and two with 250mm leads for the fuselage.
COMING TOGETHER
With clearer photos, a colour version of the printed B&W manual can be downloaded at centuryuk.com. Finishing Ruckus follows a typical balsa ARTF assembly process, and my notebook recorded the following points:
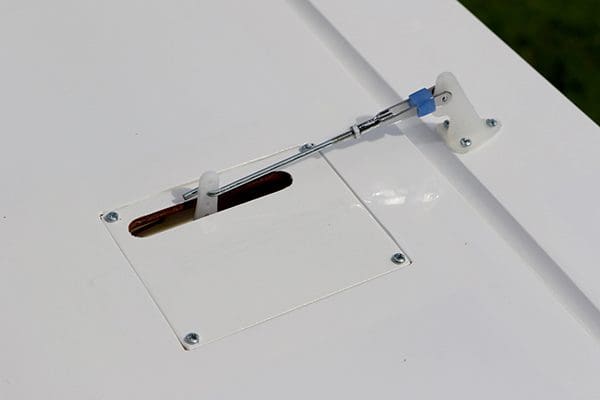
- Servos fit to the inside of each wing hatch cover. The attachment lugs suit mini servos but can be easily trimmed for larger units.
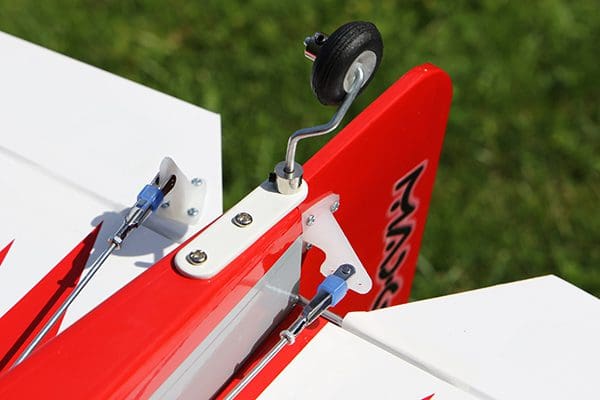
- Control horn retention screw holes are marked but are best drilled through to ease their fitment. Control horn back plates are used for rudder and elevator, but not ailerons, where the thicker section and self-tapping screws are sufficient.
- Fitting the undercarriage is quick and easy thanks to a high level of prefabrication. Do have some thread lock handy to secure those axle nuts and wheel collet retention grub screws.
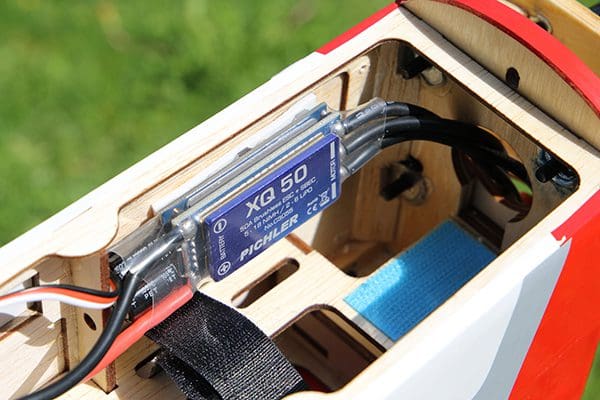
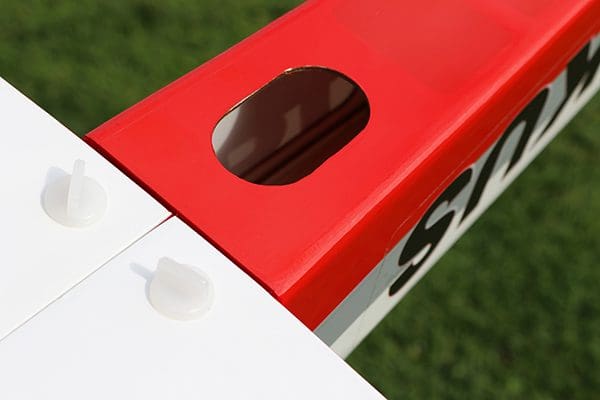
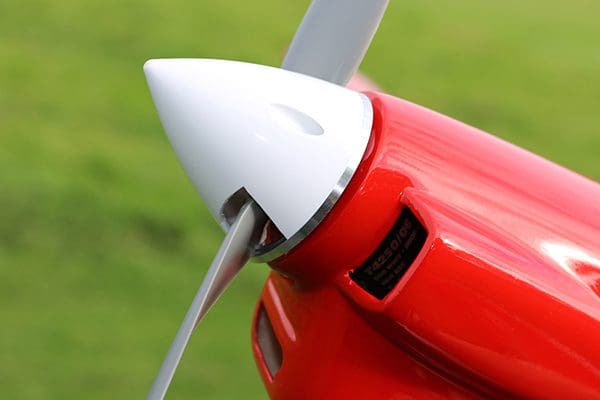
- The manual illustrates an ESC sitting in the fuselage, although it would be better placed inside the cowl and the cowl vents opened to encourage cooling airflow. Unfortunately, cowl space is very tight, so most ESCs just won’t fit. Either way, it is sensible to open some cowl vents to encourage cooling air into the fuselage; an oval airflow exit hole on the underside seems to have been left for that purpose. Just cut away some film to reveal it.
- All-plastic spinners suit IC engines but rarely electric outrunners, where higher RPMs generate unwanted vibration. Such is the case here. Fit a 57mm metal backplate spinner. Problem solved.
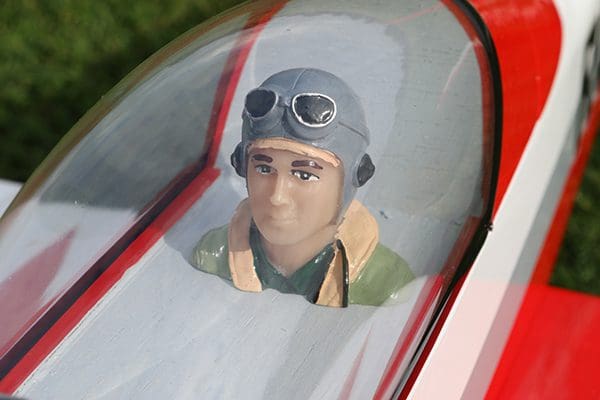
- That pilot figure won’t have many fans, but the canopy has been left for the builder to attach so it’s easy to substitute a better bod.
POWER POINT
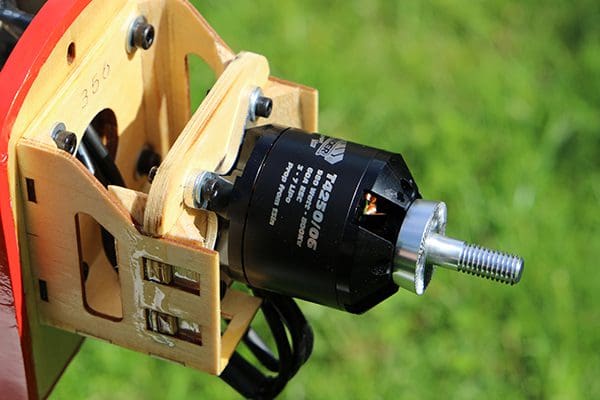
All models benefit from a bit of time and care during assembly, particularly when the engine or motor is installed. Some work has been done at the factory in this case, so captive nuts for the engine mount or motor standoff are already there. But adding a powerplant still requires plenty of measuring and checking before you do something irreversible, such as cutting a cowl or gluing the motor standoff into position.
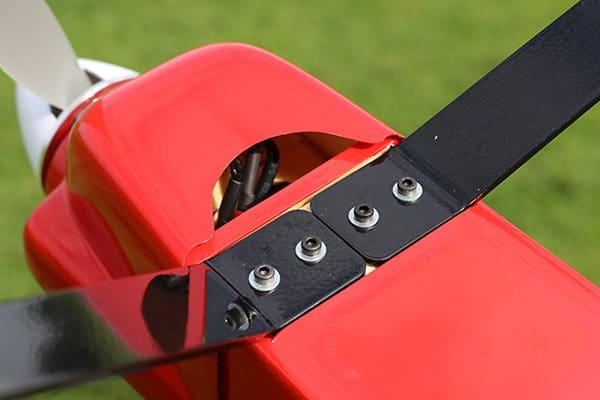
The motor standoff accommodates most outrunners thanks to a sliding firewall. It’s a familiar process; fit the motor to the sliding firewall, add the cowl and spinner backplate, then line it all up, mark and glue the sliding firewall into position and add the triangular balsa reinforcements. Easy, peasy, eh?
Well, yes and no. When pushed all the way back perfectly parallel to the main firewall, my sliding firewall wouldn’t let the motor shaft exit the cowl dead centre unless angled slightly upwards. I had a choice, either go with a parallel fit but a spinner nastily out of alignment with the cowl or use a degree of upward alignment to achieve a better appearance while running the risk of adding unwanted upthrust. Happily, if that was the case then it hasn’t been apparent when the model flies.
So, don’t let the cowl lead you astray. While its outline is designed to follow the model’s nose profile, which is simple enough, it’s easy to assume that the cowl’s side cheeks should run parallel to the fuselage centre line. They don’t. That’s all part of the model’s character, so not a bad thing, but something to be aware of.
Talking of motors, power for me would be the Overlander Thumper 4250/06 800kV outrunner suggested by Century. Spinning a 12″ x 6” prop I recorded 34A and 500W peak, or around 100W/lb. I’ve tried a 13″ x 6.5” prop and while that does help deliver a bit more power, current draw goes up, the ESC gets hotter and endurance is reduced. Besides, performance using the smaller prop is perfectly good.
PRE-FLIGHT
The manual suggests a 4S LiPo in the 2200mAh to 2600mAh range, but I suspect most flyers will have 2200s and 3200s rather than anything in-between. Fear not, even with those larger packs the model’s short nose, spacious interior and wide C of G range (75 – 90mm) means most of you shouldn’t struggle to balance the model, especially with a little battery shifting.
AIR SIDE
I used a 4S 2200mAh battery for the first flight. I’d popped out to the smaller of my club fields, one that requires a tight turn for finals to avoid trees, so figured anything that reduced the model’s wing loading would do no harm. The model balanced at the 75mm spot after the battery was placed forward against the firewall.
A little elevator held the tail down as it started to roll before the Ruckus unstuck, quicker than expected too. You know how some models just feel ‘right’ seconds into the first flight? This is one of them, with Ruckus delivering a predictable and comfortably responsive feel. I’d started with the low-rate deflections. They’re perfect for those new to a low winger, although anyone else will find them a bit tame.
Testing the stall response came first. Although the C of G was at the front of the range the model revealed friendly and benign traits. Raising the nose while decreasing throttle brought the model to a halt before the port wing slowly dropped. Three minutes had elapsed, so I landed to check the battery (64%), more than expected and pointing to five-minute flights with economical throttle use.
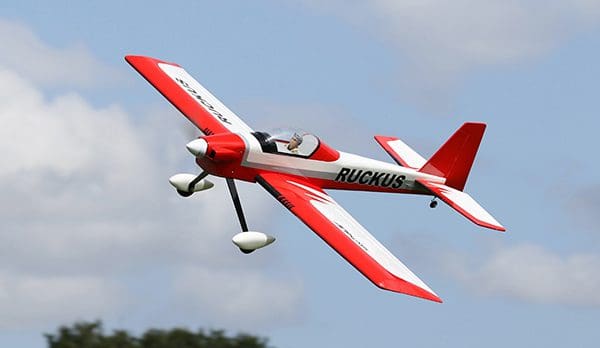
Ruckus flew from a large field two days later, where I tried some 4S 3000mAh packs. They’re about the same length as the popular 3200mAh LiPos, just a tad lighter. Endurance extended to six minutes and the extra weight wasn’t reflected by the performance.
RATES
Obviously, increasing the control surface deflections improves the model’s aerobatic ability, although Ruckus always retains a composed feel. We’re talking traditional aerobatic manoeuvres of course; this isn’t a 3D or freestyle machine. Spins, for starters, are particularly fast and linear when the rudder movement increases to +/- 25mm. That’s enough to hold the nose through knife-edge too, even with the heavier battery fitted.
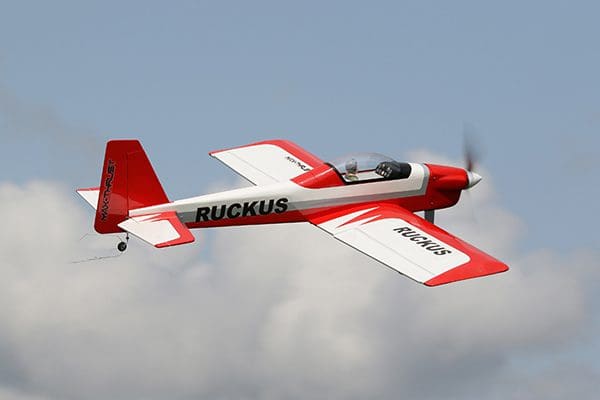
Inverted flight feels safe and solid, with just a breath of down elevator required whichever battery I use. Landing is straightforward too; Ruckus settles down nicely on finals but come in too fast and you’ll turn one landing into several as the inflexible undercarriage helps bounce the model down the strip. It’s better to scrub off most of the speed, safe in the knowledge that Ruckus won’t bite until it practically stops moving forward.
I’ve settled on +/- 15mm for ailerons. This delivers a nice roll rate that seems in keeping with the design. Some pilots dial in exponential before the first flight and there was a time when I did the same, but these days I prefer to test a model without expo and adjust the C of G to my liking first (so doing can make a vast difference to the model’s feel) before dialling in the expo. You’ll be surprised how often expo turns out to be unnecessary, as it is here, even using the high rates I’ve mentioned.
FULL CIRCLE
What a lovely model. Many years ago, when I was a new R/C flyer, I was chatting to a chap who’d done everything. Big models, complex twins and turbine jets, he’d ticked ‘em all off. But he’d come full circle, “These days, I just fly a WOT4”, he said.
I was surprised. Why spend so much time, energy and money climbing the ladder only to jump off? I must’ve looked quizzical as he went on to explain that how achieving these milestones had helped him appreciate the simple stress-free machines where he’d rediscovered enjoyment of his hobby. Ruckus has been a reminder that large models and big budgets don’t always deliver parallel levels of satisfaction.
It’s strong, well made, relaxing and enjoyable to fly, while easy to maintain and repair. I rather like the appearance too. Some people think that a model like this has everything you need. I can see what they mean.
DATAFILE:
| Name: | Pro-Built Balsa Ruckus |
| Model type: | ARTF sportster |
| Manufactured by: | Max-Thrust |
| UK distributor: | Century UK www.centuryuk.com |
| RRP: | £209.99 |
| Wingspan: | 1380mm (54”) |
| Fuselage length: | 1170mm (46”) |
| All-up weight: | 2110g (4.65lbs) |
| Wing area: | 594 sq.in. (approx) |
| Wing loading: | 17oz/sq.ft. |
| Power options: | .40 – .46 IC engine or electric outrunner equivalent |
| Power system fitted: | Overlander 4250/06 800kV outrunner, 12″ x 6” prop, 50A ESC, 4S 2200 – 3000mAh LiPo |
| Functions (servos): | Ailerons (2), elevator (1), rudder (1), throttle (1 or via ESC) |


